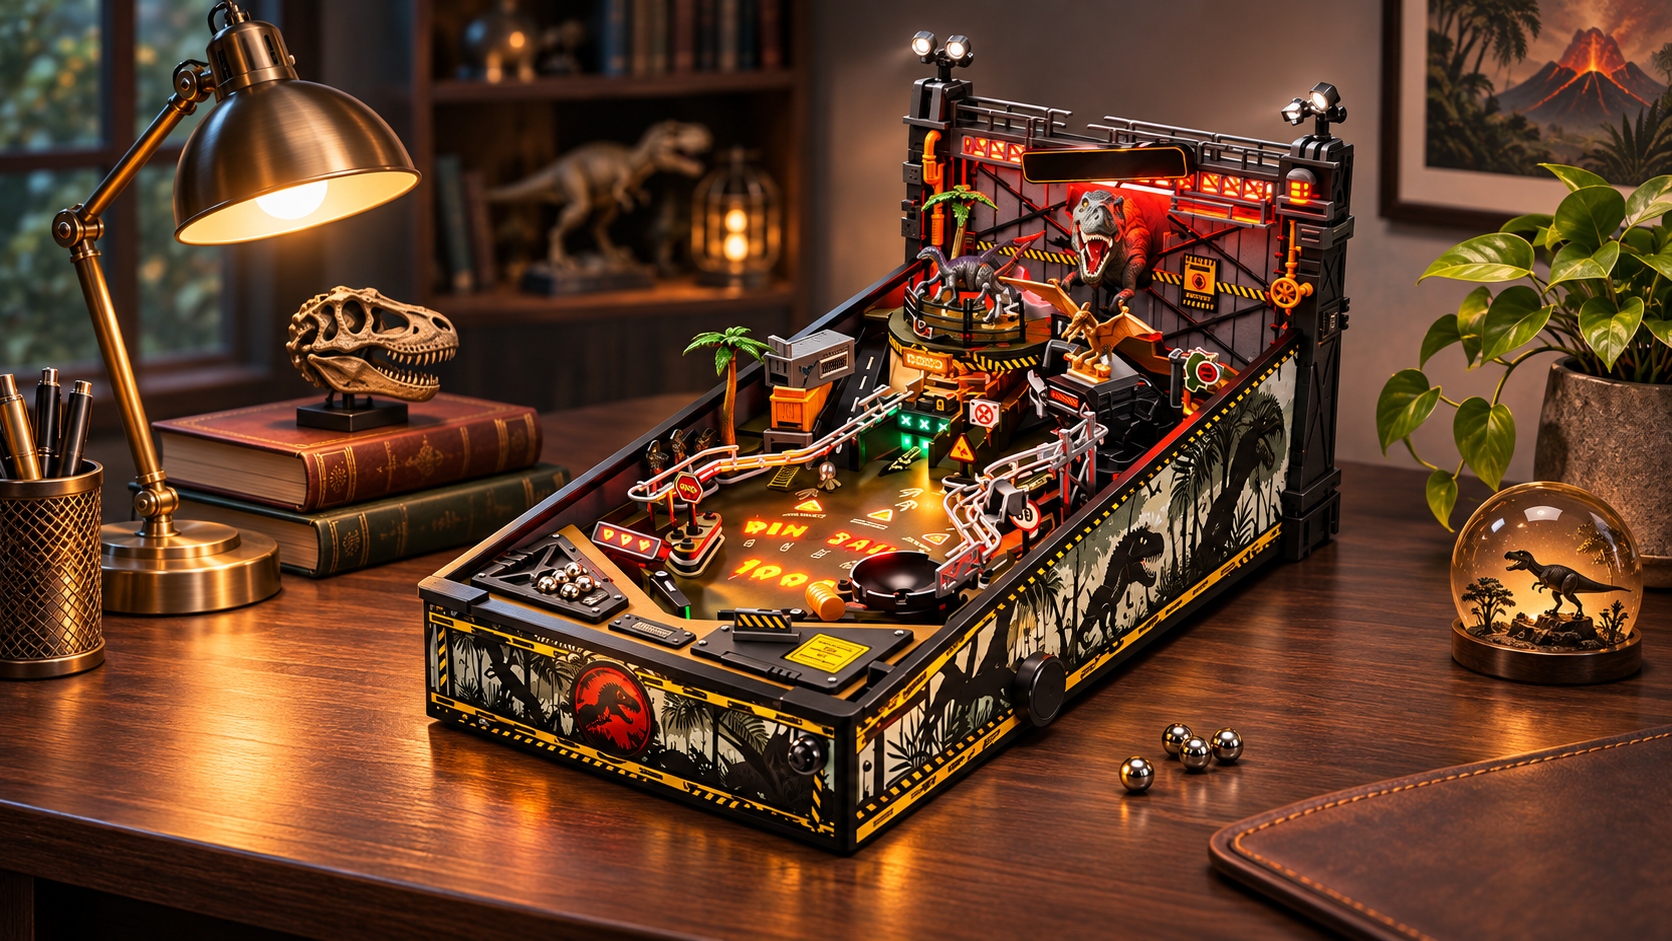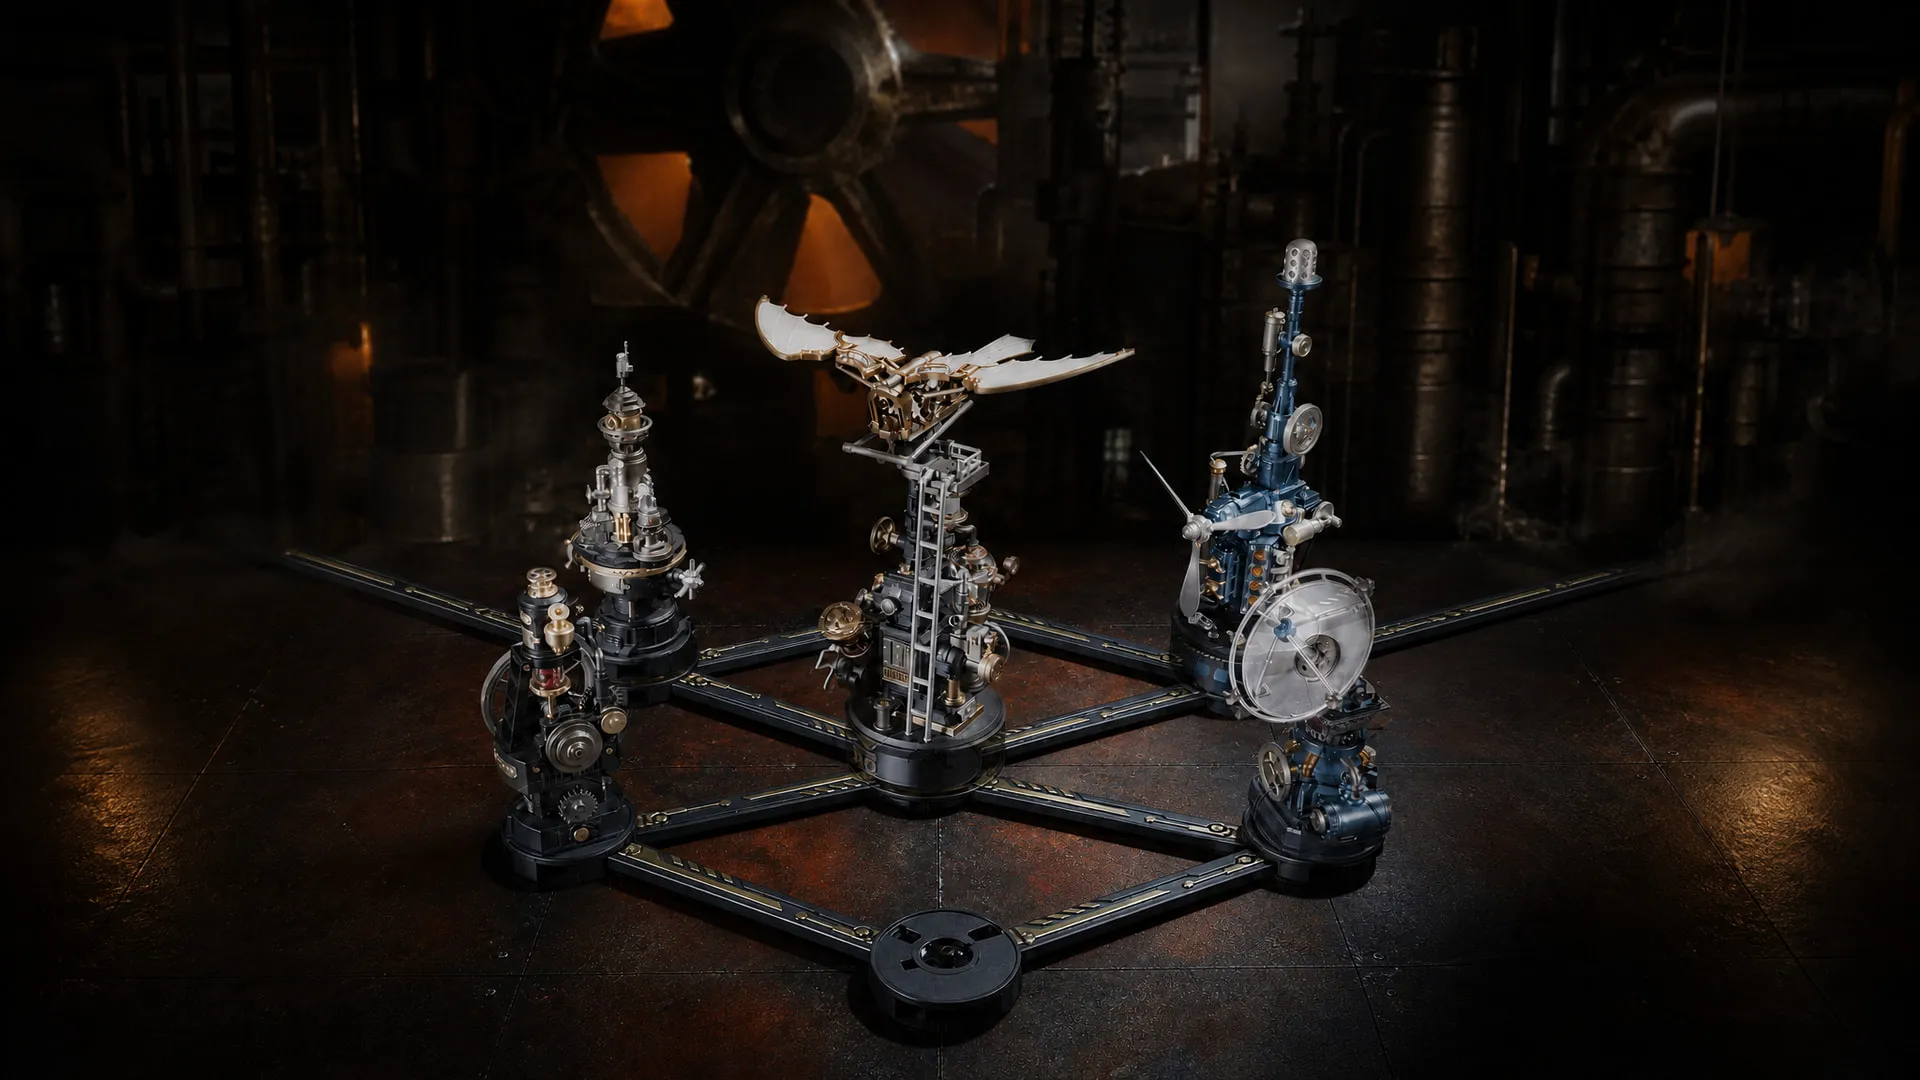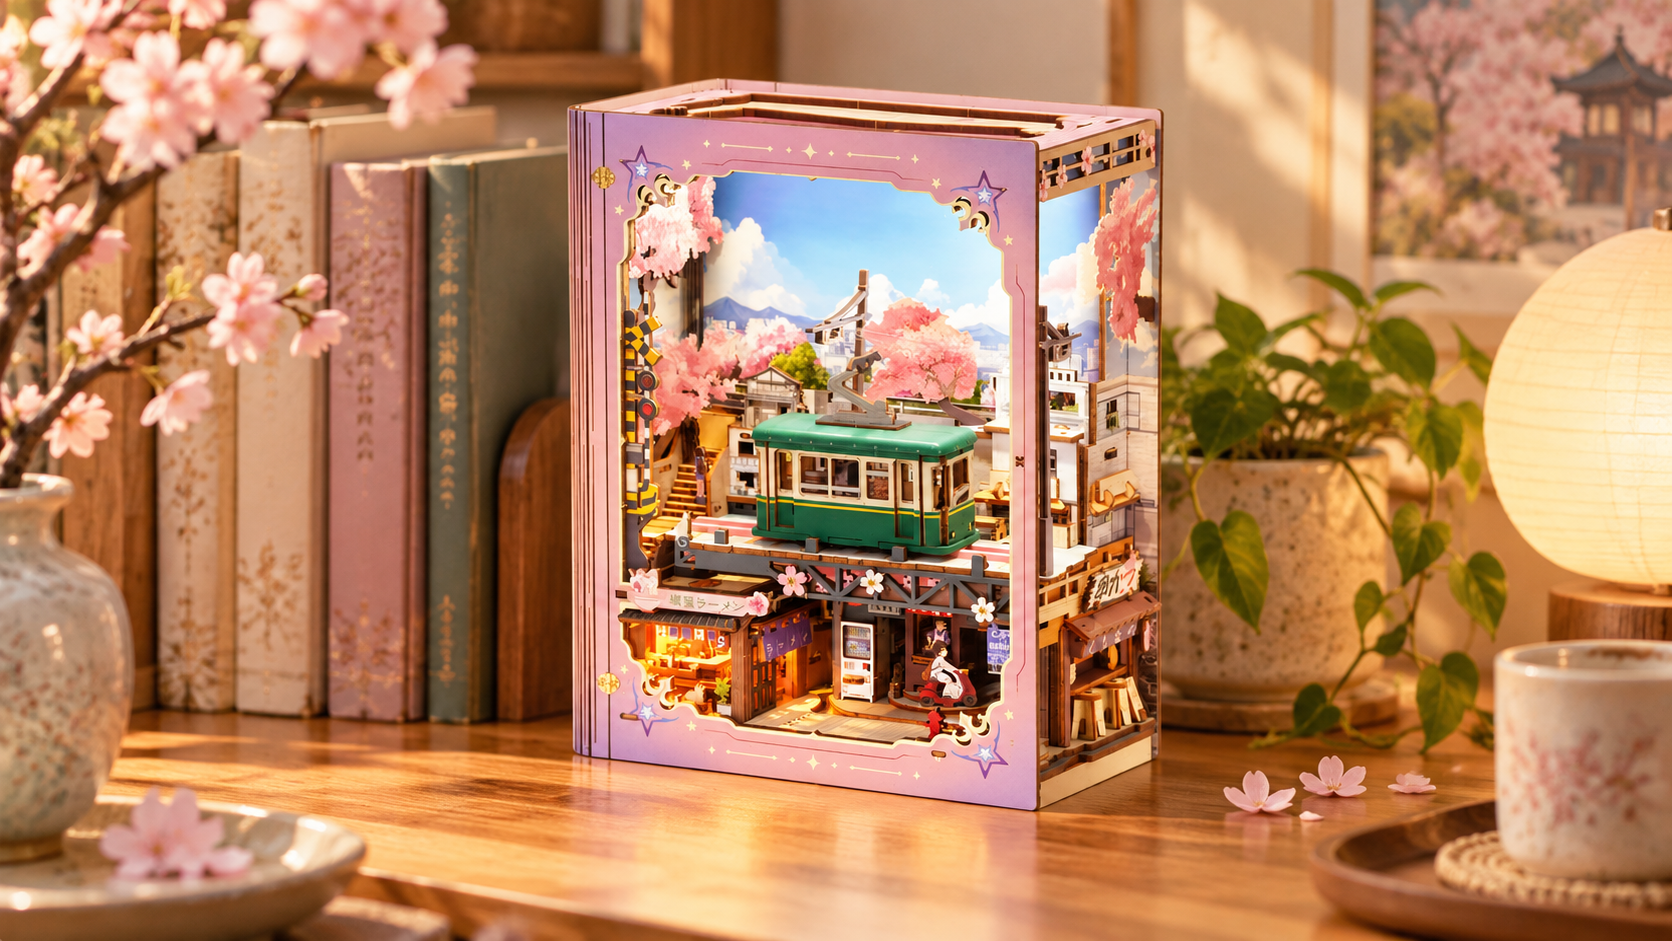

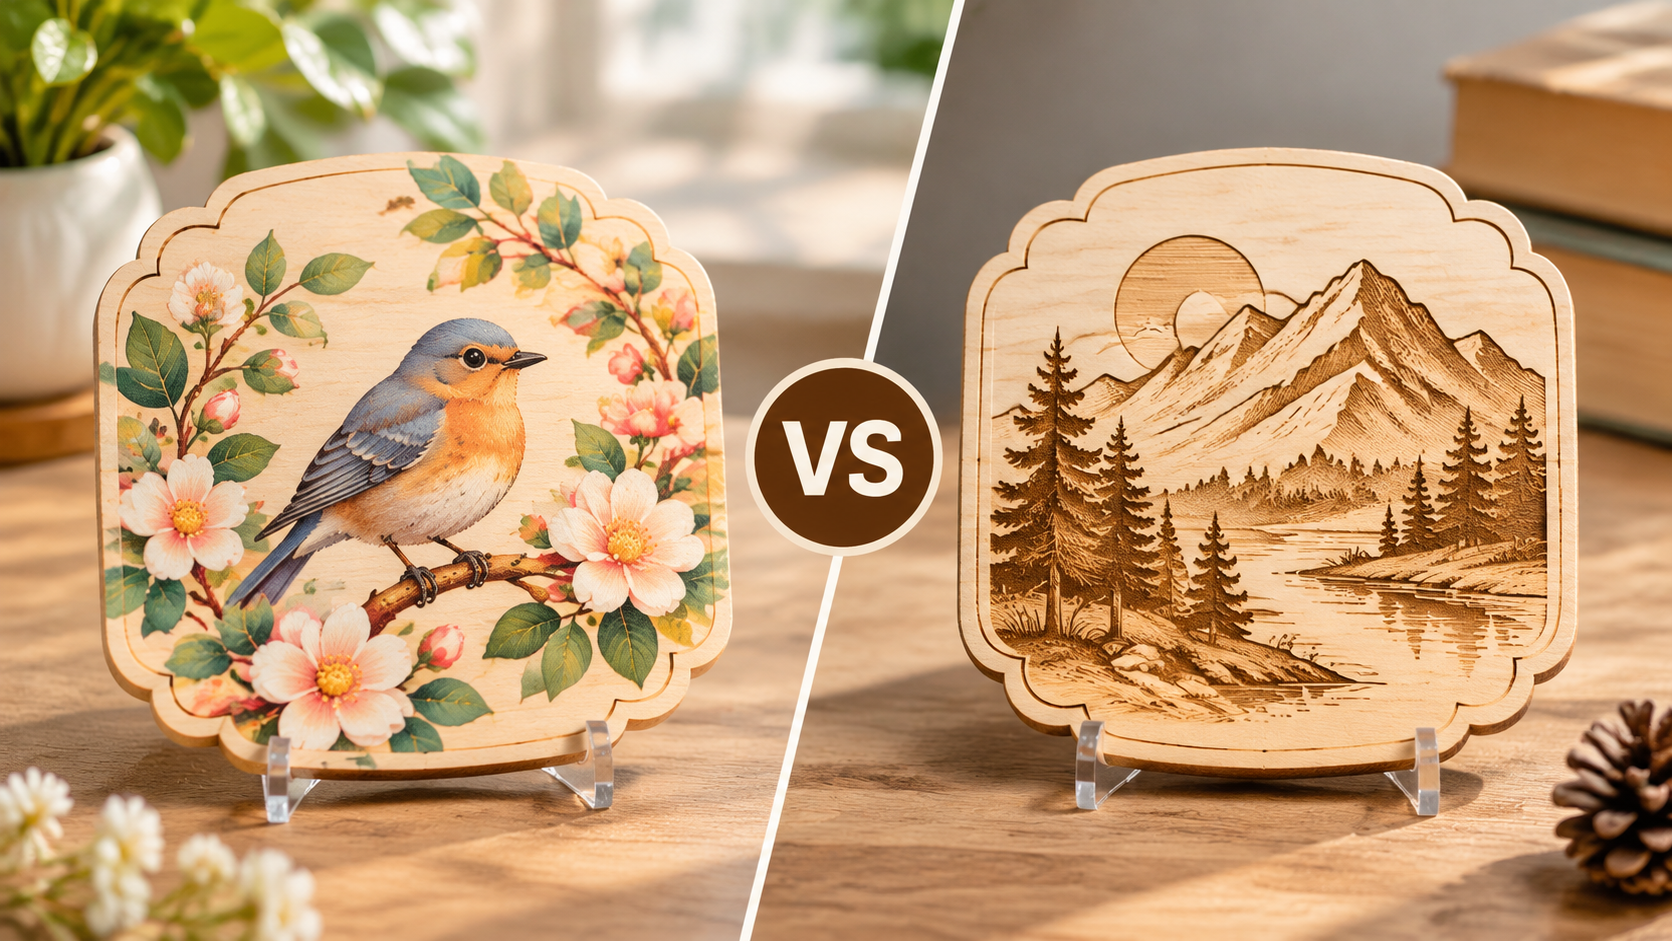
Remember when you noticed how different wooden puzzle pieces look? You may have seen one carry a full-color illustration with soft gradients, while another displays crisp, dark lines on pale wood, and a third keeps its natural grain with hardly any decoration at all.
Those differences come from how the artwork is applied. Two methods used to decorate wood are UV printing and laser engraving.
Knowing how these methods work gives you more to look for the next time you open a ROKR kit. You can see how makers add artwork to small, thin pieces of wood while preserving the precision needed for assembly.
What Is UV Printing on Wood?
UV printing is a way of printing color directly onto a surface, including on wood. It works a lot like a home inkjet printer, except the ink hardens under ultraviolet light instead of drying on its own.

It starts with the artwork. A designer prepares the image on a computer and positions it on the wooden board in the printer's software, so every detail is printed exactly where it should. A flatbed printer then holds the board still while a printhead glides across it, placing tiny droplets of special UV-curable ink onto the surface.
UV lamps cure the deposited ink. Their light sets off a reaction that hardens it rapidly, with proper curing depending on the ink, equipment, and settings.
Many UV printers use several ink colors, with optional white ink and clear varnish, to produce rich color, smooth gradients, tiny text, and fine illustrated detail. The number of passes depends on the printer and the desired finish.
UV ink usually cures in a layer on the wood, though how much ink penetrates depends on the surface. Boards are cleaned to remove dust, oils, and loose fibers that can interfere with adhesion. Some woods or end uses call for a primer or protective coating. The grain and color of the wood can also affect the finished print.
UV printing is great if you want:
- Colorful artwork in a wide range of shades
- Smooth gradients and soft color blends
- Small text and fine lines
- Detailed images, including complex illustrations
However, UV printing does have its limits, such as:
- Ink adhesion, which depends on the wood and how it was prepared
- Surface texture, since printed ink can sit on top of the grain
- Abrasion resistance, or how well the print holds up to scratching and handling
- Finish, which can differ with the material and the production process
Whether a print lasts comes down to the ink, the surface preparation, the curing, and how the puzzle is handled, so no printed surface can be guaranteed never to scratch or fade.
What Is Laser Engraving on Wood?
Laser engraving uses a focused beam to heat and remove material at the wood’s surface, leaving a visible mark. The beam follows a digital design, so it can trace lines, patterns, text, and shading, like a pen made of light.

Engraved areas often look darker than the surrounding wood because the heat burns the surface. The process is great at creating precise lines, patterns, and tonal detail.
However, this process doesn’t create the same look on every wood, and the mark is not always black. This is because of a few variables:
- Power and speed of the laser head. Higher power or a slower pass generally increases the energy delivered to the wood, which can deepen or darken a mark, but the result depends on the material and other settings.
- Focus. Shifting the laser slightly out of focus spreads the beam and changes how much the wood burns.
- Wood type. Species, grain, resin content, moisture, and any coatings or adhesives affect the result; hardness alone does not predict how dark a mark will be.
- Finishing. Sanding or cleaning afterward can remove the toasted surface and make an engraving fainter.
Depth varies too. A light pass only tints the surface, which is closer to laser marking, while a deeper pass removes enough wood to leave a visible groove.
UV Printing vs. Laser Engraving: How Do They Compare?
| Feature | UV Printing | Laser Engraving |
|---|---|---|
| Basic process | Applies and cures ink on a surface | Uses laser energy to alter or remove surface material |
| Typical appearance | Full-color graphics, illustrations, and detailed images | Engraved lines, patterns, text, or tonal marks |
| Color options | Can reproduce a broad range of colors | Appearance depends largely on the material and laser treatment |
| Surface characteristics | May leave a printed layer or coating | May create a recessed, textured, or visibly altered surface |
| Common applications | Colorful artwork and detailed graphics | Fine lines, markings, patterns, and surface details |
| Main considerations | Ink adhesion, surface preparation, and finish | Material response, mark depth, and consistency |
These are general characteristics, not strict rules. A maker may combine printing, engraving, and other finishing steps on the same product.
What Is Laser Cutting, and How Do ROKR Products Use It?
Laser cutting shapes the pieces. The beam cuts through the board to create the outlines, including the tabs and slots that lock pieces together.
ROKR’s FAQ lists a laser-cutting tolerance within 0.05 mm. Cutting accuracy supports a precise fit. Whether a model needs glue also depends on its design and assembly instructions.
- Laser cutting separates a piece from a sheet by cutting through it.
- Laser engraving marks the surface by altering or removing material.
- Laser marking can create visible marks with little or no depth.
Remember that in a wooden puzzle, cutting makes the pieces and their interlocking edges, while printing or engraving creates the artwork. The same type of machine can often do both cutting and engraving with different settings, and people often use the words loosely.
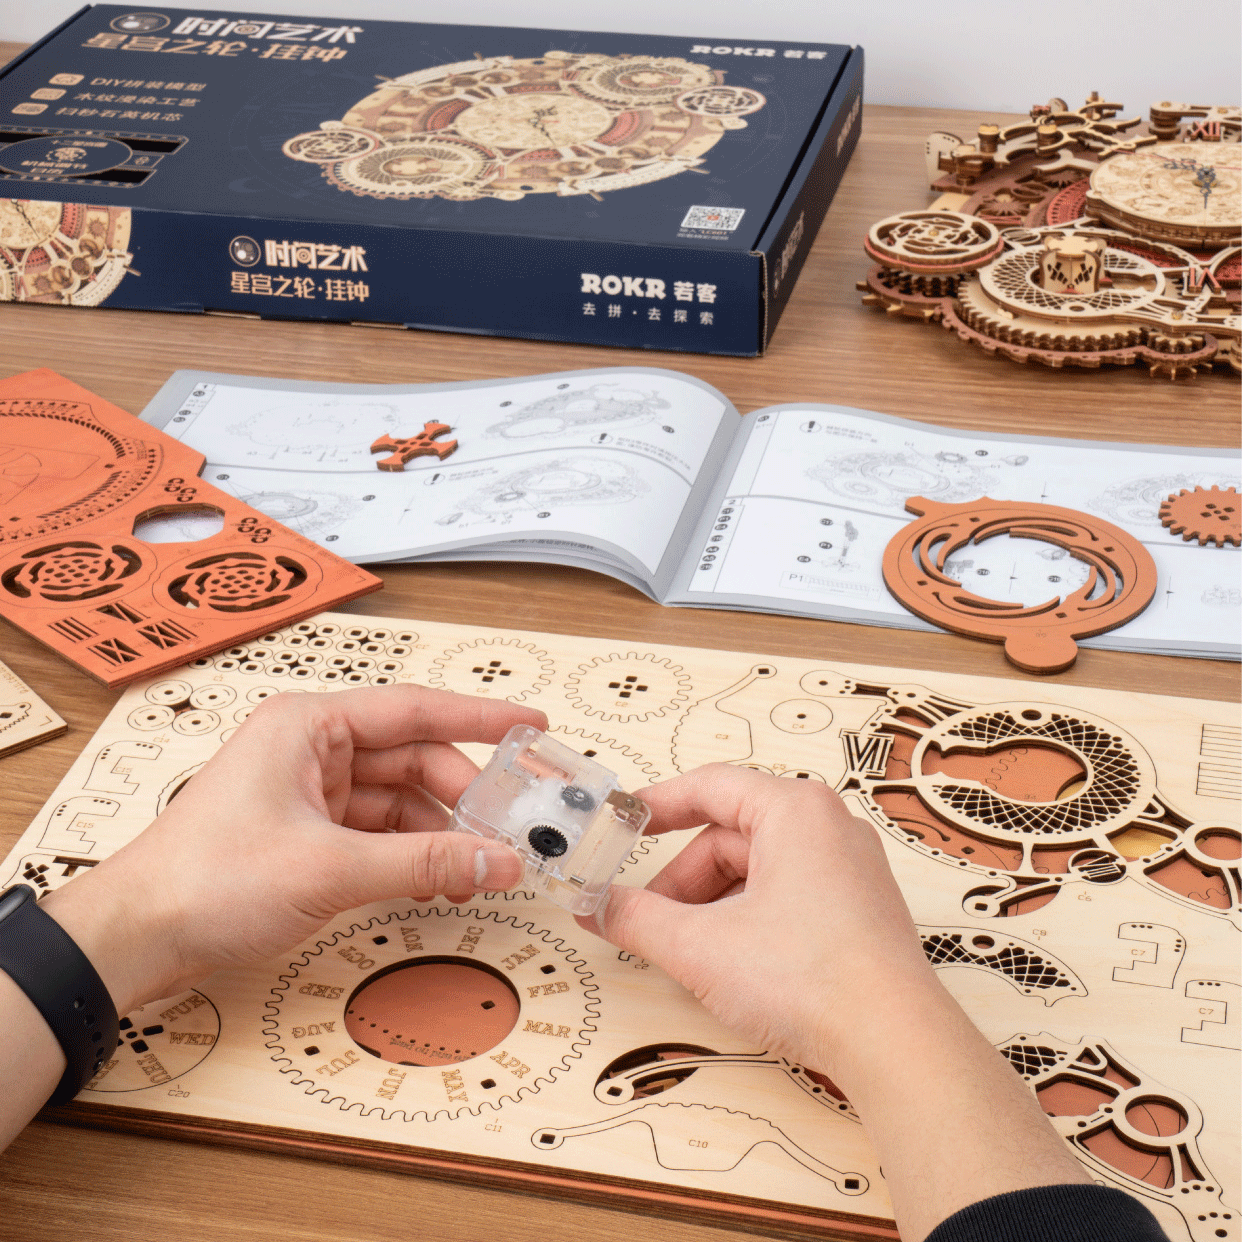
What Do These Processes Look Like on Wood?
Side by side, different surface looks are easy to spot, even when the method behind them is not obvious:
- Colorful artwork: full-color illustrations with gradients and fine detail, which do not by themselves identify the coloring process
- Fine lines: thin, crisp details traced in dark or light tones, common in patterns and outlines
- Engraved details: recessed or toasted marks you can sometimes feel with a fingertip
- Natural finishes: bare or lightly finished wood with the grain in full view
Many puzzles mix these looks. A single piece can have printed color, laser-cut edges, and a few engraved accents all at once.
Paint and coatings can also produce colorful finishes, so confirm the process for each Rowood model. ROKR’s Symphony of Gorgeous Dreams (AMK63M) and M416 Carbine (LQB02) show different decorative finishes. Their appearance alone cannot identify how the color was applied.

Laser engraving can produce small surface details. Treat the clock numerals on the Zodiac Wall Clock (LC601) and the map lines and labels on the Luminous Globe (ST003) as visible examples of fine detail until the production method is confirmed.
Which Method Works Best for Wooden Puzzles?
The choice comes down to purpose. Printing suits a bold, colorful illustration. Engraving may suit a fine line, a pattern, or a recessed detail. Some designs combine both, while a natural finish lets the grain become part of the look. The material, the intended appearance, and the production process all shape the choice.
The type of wood matters a great deal, because woods take ink differently and burn differently. Other factors include the surface finish, how complex the artwork is, how the puzzle will be handled, and the manufacturing requirements behind it.
Thin pieces add a twist, so the equipment has to hold boards steady and keep heat under control. A flatbed UV printer may use a vacuum table or other fixtures to hold a rigid board in place while the printhead passes over it. Laser machines depend on accurate focus and on careful power and speed settings, along with a suitable work bed and air assist, to limit unwanted scorching.
A wooden puzzle has to look beautiful and click together properly. A few things make that tricky:
- Artwork position, since the picture must line up with the cutting lines so each detail lands on the right piece
- Piece shape, because printed details need to match the final outline of each piece
- Small features, such as narrow tabs, slots, holes, and moving parts, which leave little room for error
- Coatings and ink, which in certain designs could add a trace of thickness where parts meet.
Whether these details affect fit depends on the process and the design. The goal is to balance visual quality with how smoothly the pieces come together.
For Robotime models, the aim is to balance color, surface detail, and fit. The combination of processes and whether assembly is glue-free depend on the particular model.
How Can You Tell Which Process Was Used on a Wooden Puzzle?
Appearance offers a few clues. Use them to narrow down the possibilities:
- Full-color illustrations may be UV-printed, but color alone cannot distinguish UV printing from other printing, painting, or coating methods.
- Recessed lines or darker, localized marks can suggest engraving, but do not confirm laser engraving on their own.
- Visible wood grain, which can show through some finishes, does not point to any one process.
- A mix of printed artwork, laser-cut edges, and engraved details on a single product means several processes were combined.
Different processes can look alike, and painting or staining can resemble printing.
Look Closer
UV printing can bring color, laser engraving can add crisp detail, and laser cutting shapes the pieces for assembly. Once you know what each one does, a wooden puzzle stops being just a pretty kit and becomes something you can understand and appreciate more.
So the next time you open a Robotime kit, look closely at the color, the lines, and the edges, and see how its surface decoration and piece shapes work together.