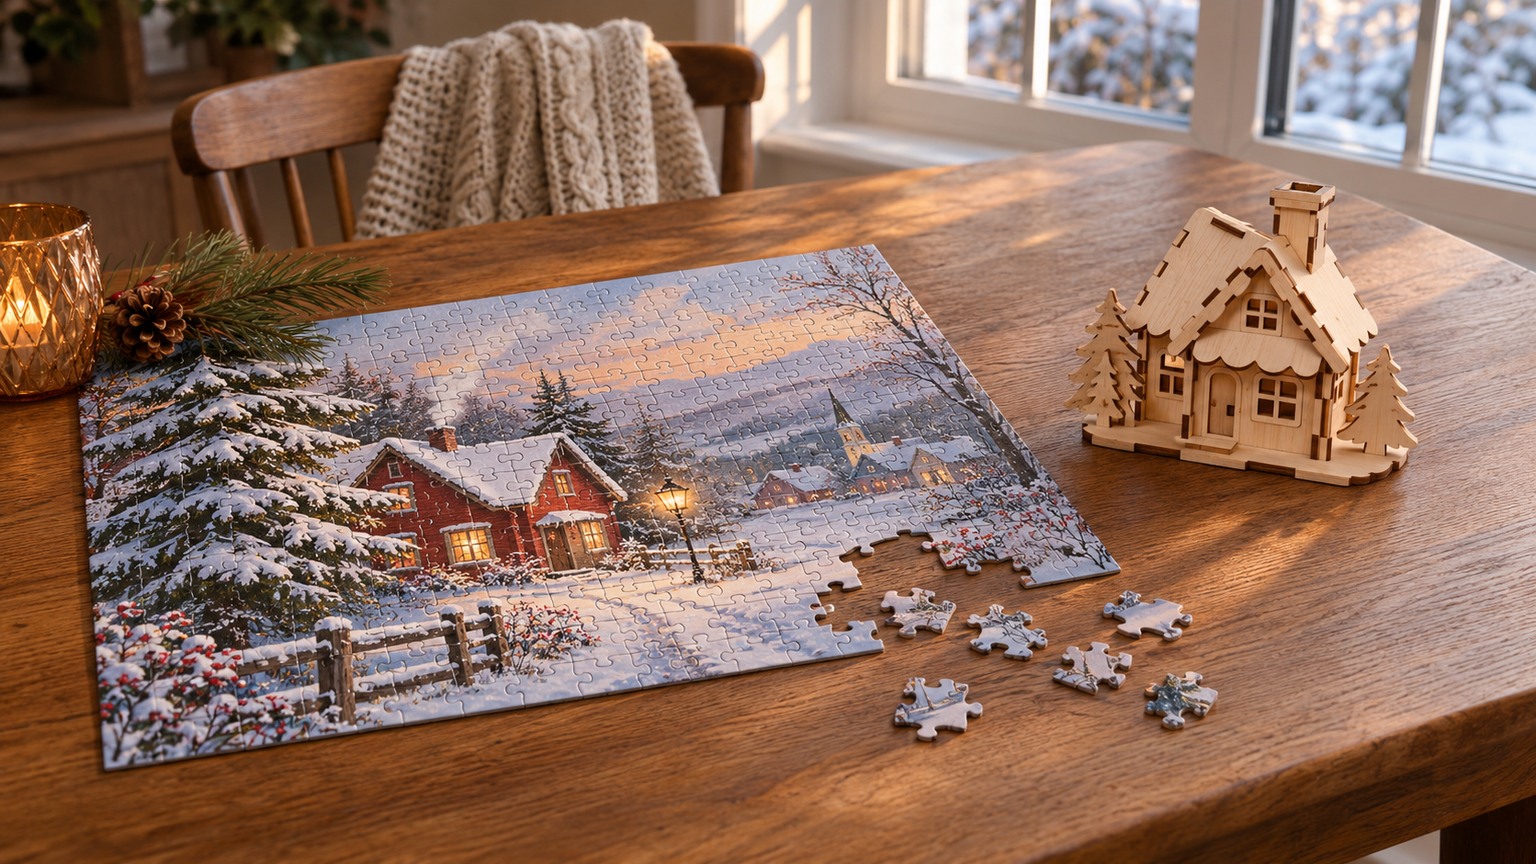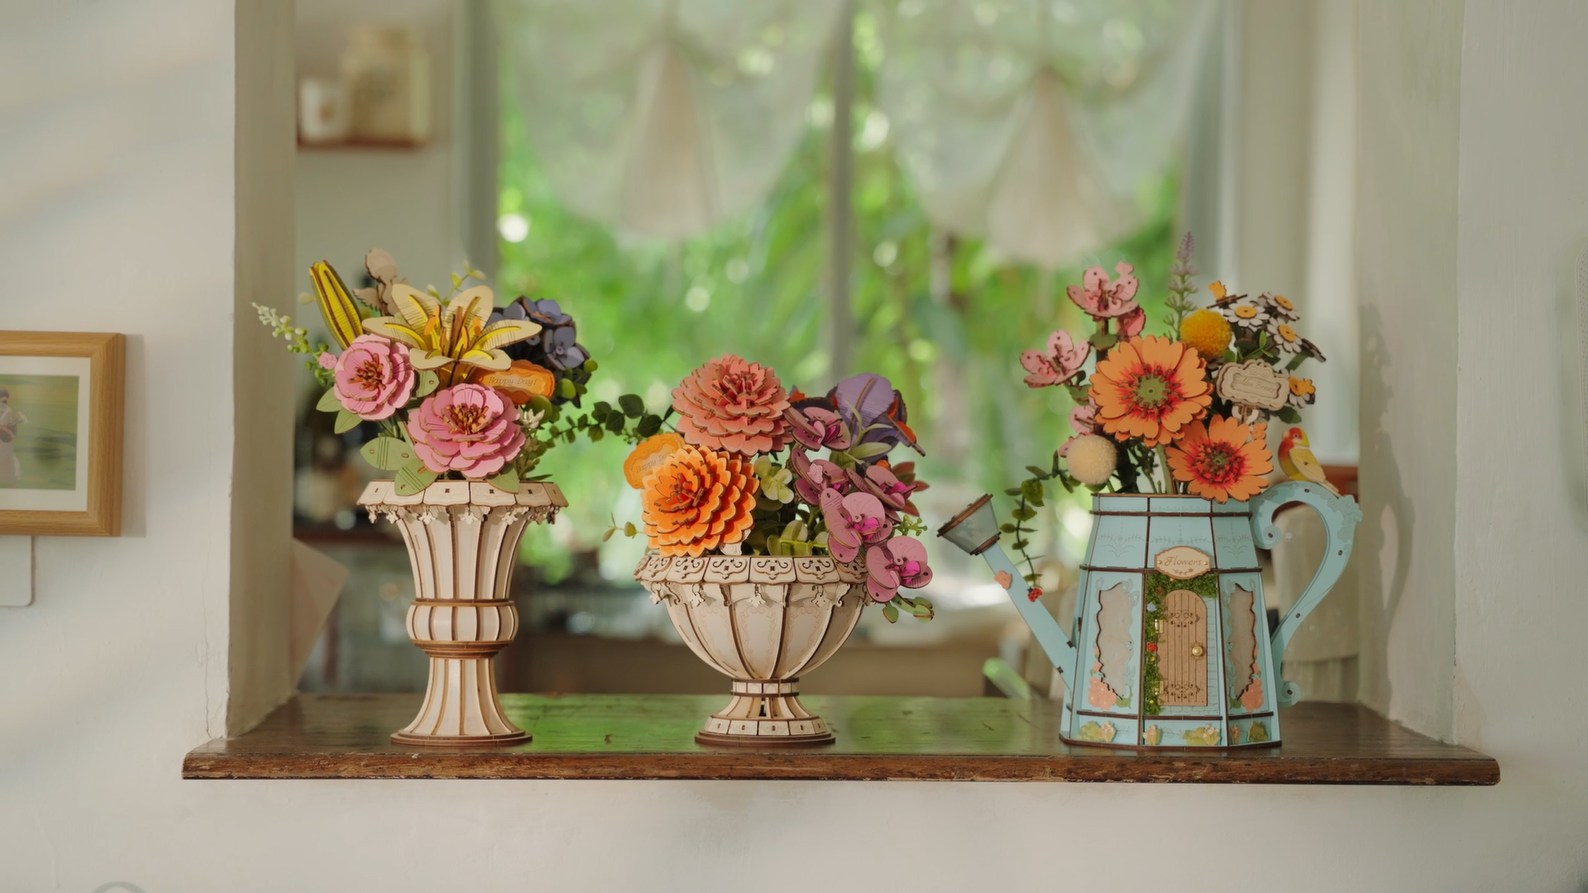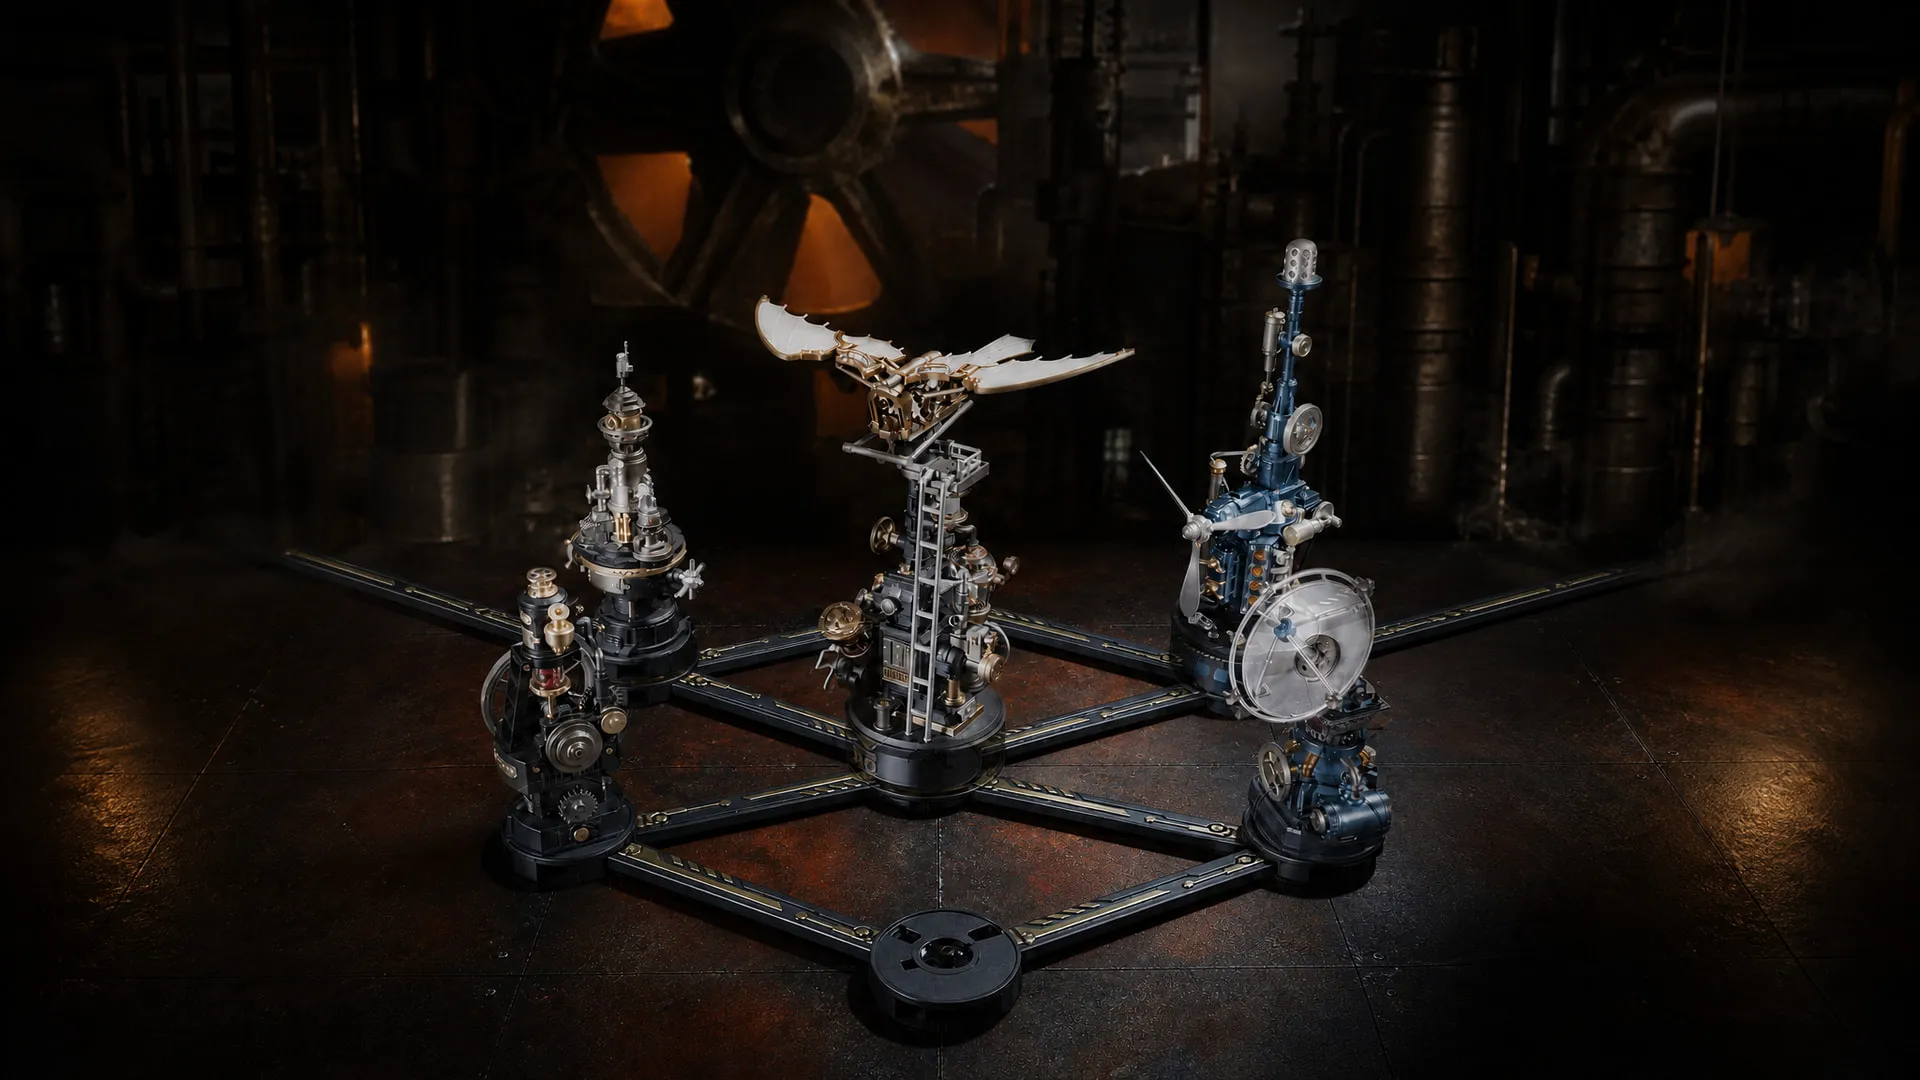

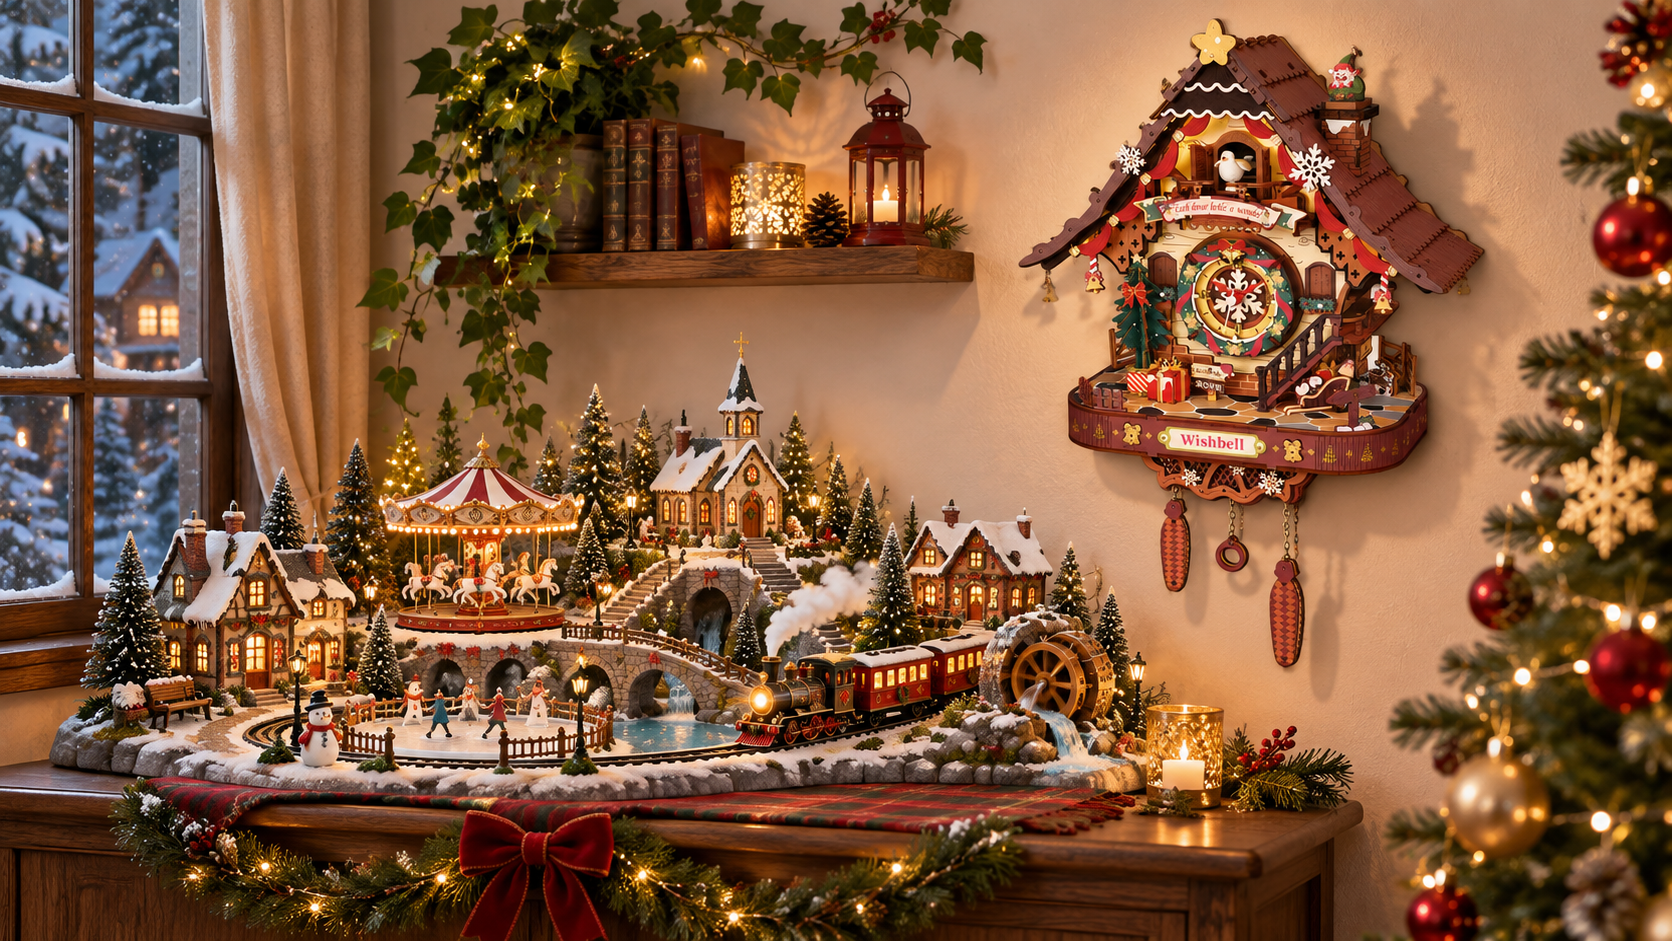
You unpack the decorations, line up the little houses, plug in the lights, and step back. Something is off. All the pieces are good, but together they look like a shelf of ornaments instead of a scene.
That gap comes down to design choices: a clear focal point, depth, lighting that ties things together, and breathing room for each piece. A rotating carousel can bring the scene to life when it has room to move.
In this guide, we will cover both the look and the setup.
7 Steps to Build a Christmas Village Display With Moving Miniatures
These seven steps take you from the first sketch to a display you can light and run comfortably.
1. Choose a Theme Before Selecting Your Decorations
A theme lets you mix pieces from different collections while giving the scene a clear story. Here are five ways to start:
- A traditional Christmas village includes small houses and shops along a snowy street.
- The Christmas workshop involves toy-making scenes and gift-wrapping activity.
- A festive town square features one central landmark with a nearby moving attraction.
- Winter wonderland includes snowy scenery with plenty of space between pieces.
- A mechanical Christmas scene idea involves moving models, visible gears, and illuminated details.
These are starting points, and blending two works fine. Trouble comes from having no visual focus, since unrelated colors and competing centerpieces read as clutter.
Remember, not every Christmas model matches the village scale. Spacing and height differences let you combine them anyway, as long as you don't expect two products to look proportional side by side.
2. Measure Your Space and Plan the Layout
Pick the location before you unpack anything. Check width and depth, shelf height, and the clearance above it. Make sure the surface can support the weight, think about where you will be standing, and find an outlet within reach.
Here is the part people miss. Your display needs more room than the product dimensions suggest. A rotating model needs clearance around the moving parts, a hand-operated piece needs room for your hand, and a tall building needs headroom for anything that rises or swings.
The most useful habit is measuring your largest model first and building around it, since squeezing a big centerpiece into leftover space almost never works. A rough sketch helps too.
3. Create a Focal Point and Arrange Decorations at Different Heights
Your eye needs somewhere to land first. Pick one focal point, whether a tall illuminated tree, a prominent building, or a moving centerpiece. Everything else becomes the supporting cast.
Use height and placement to keep the focal point visible:
- Taller pieces toward the back, as long as they stay visible
- Lower buildings and small details in the foreground
- Risers or platforms to create height on a flat surface
- No large model parked where it hides several smaller ones
- Clear sightlines to the moving parts you want noticed
A three-level arrangement gives you a starting structure. Put taller buildings and the centerpiece at the back, moving attractions in the middle, and smaller decorations at the front.
Height alone will not carry a composition, and spacing matters just as much. Some displays work better with the focal point centered and everything radiating outward, so treat this as one option.
4. Create Depth With Layers, Backgrounds, and Negative Space
Depth separates a scene from a row of objects. You get it by giving your display a foreground, a middle ground, and a background, then letting pieces overlap slightly between those zones.
A simple backdrop establishes the winter setting without competing for attention. Small trees or fences between buildings connect pieces that would otherwise sit isolated. Then leave some areas empty.
An open stretch around the focal point makes it read as the focal point. A small shelf with four well-placed pieces beats the same shelf packed with twelve. If too many small decorations start obscuring your main models, taking a few out will improve the display more than buying anything new.
Check the scene from where people will stand. A display arranged while you lean over it can look crowded at eye level.
5. Combine Moving Miniatures Without Making the Scene Feel Crowded
Moving models need room for their full range of motion. Check each of these before adding scenery:
- Leave clearance around anything that rotates, swings, rises, or slides
- Move decorative trees and figures away from gears and moving figures
- Position each moving model so its motion is visible from where you stand
- Avoid arrangements that hide the most interesting movement
- Keep switches and access points within reach
- Think about noise if several models will run at once
Treat each model as an independent piece unless its instructions describe a supported connection or synchronization feature.
6. Plan Lighting for the Whole Display
Lighting is the quickest way to make separate decorations feel like one scene. Start with whatever your main model already has, then decide whether the area around it needs ambient light to match.
Not everything needs to glow equally. Darker areas create depth and help your focal point stand out, while a display lit evenly from end to end looks flat. Too much brightness also washes out fine detail.
Warm light suits a traditional village, while a neutral tone fits a mechanical workshop better. Check it from your usual viewing spot with the room lights down. Lighting that looks balanced up close reads differently from across the room.
7. Hide Power Cables and Keep Moving Mechanisms Accessible
Plan cable routes before the decorations go down, since retrofitting means dismantling what you arranged.
Route cables along the back or edges, away from gears and moving figures. Leave a little slack at each connector and keep it secured away from the mechanism.
Switches and power connections need to stay reachable. A display you cannot turn on without lifting three buildings is one you will stop turning on. If several models need power, check each for its specified voltage and current and use the source the manufacturer approves. Not all USB-powered models take the same adapter.
Keep adapters and power strips ventilated and within reach too. Do not tuck them under artificial snow or enclose them behind the scenery. Check the rated load of your outlet, power strip, and any extension lead before adding more models, and never connect one power strip to another. A cable can disappear from view without making the power equipment hard to reach.
Keep wooden decorations and paper scenery away from candles and other heat sources, and follow the manufacturer’s instructions for any work on internal wiring.
3 Christmas Village Layout Ideas for Different Spaces
Choose a layout that suits the space you have and the pieces you want to highlight.
1. A Small Bookshelf Display
One illuminated piece anchors the shelf, set slightly off-center so it does not feel symmetrical. Two or three smaller decorations sit in front at a lower height, with a backdrop behind.
Let the anchor do most of the lighting and run its cable down the back corner. Check its assembled dimensions against the shelf first.
2. A Christmas Workshop Display
Place a workshop centerpiece slightly back from center, turned so its busiest side faces you, with smaller buildings around it at lower heights. Light it from within and keep the surrounding area dimmer to draw the eye to the activity.
Leave a clear channel at the front for the switch and run power behind the taller pieces.
3. A Larger Tabletop Christmas Village
Divide the surface into zones for a town square, a workshop, and a residential area. Your tallest piece anchors one and a moving attraction anchors another, giving the eye two places to go without competing. Vary height between zones and use lighting to lead between them.
Leave enough room for each model to run freely. Route cables toward one edge and keep the power strip uncovered, ventilated, and accessible.
ROKR Models That Can Inspire a Moving Christmas Display
These four models each fill a different role, from a tall focal point to an attraction that needs room to move.
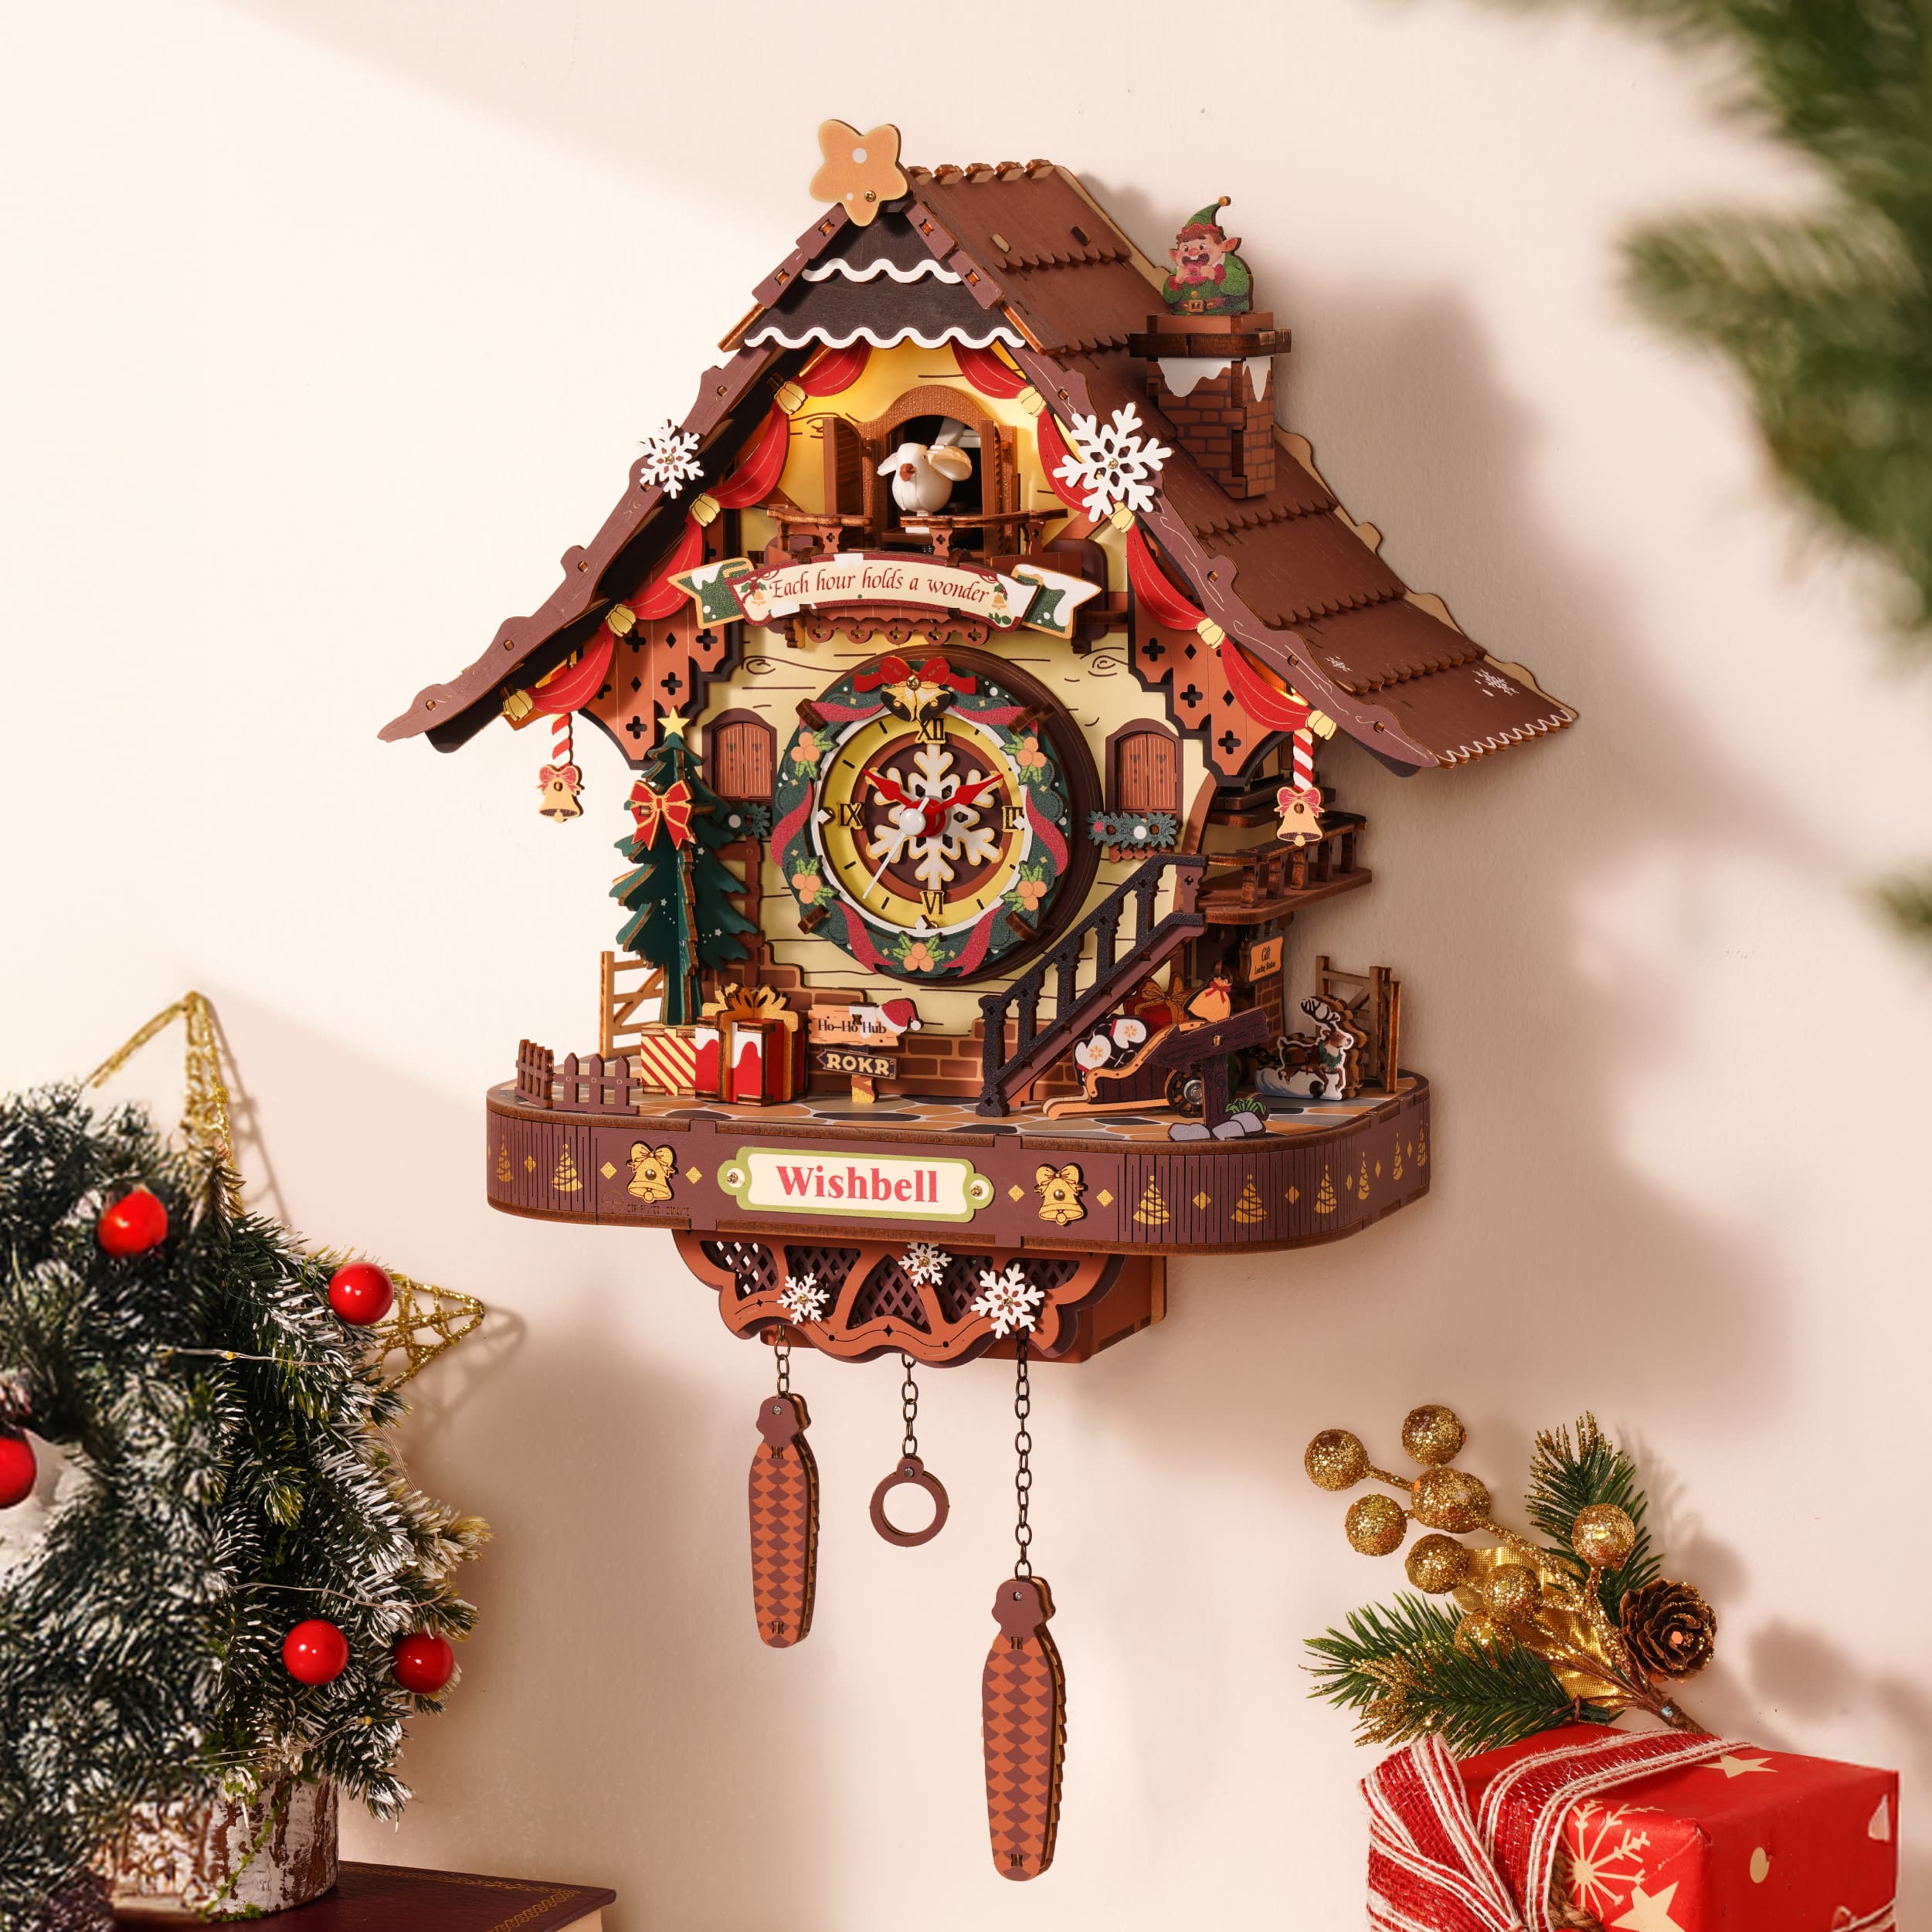
The Christmas Cuckoo Clock LCB01 works as a vertical focal point. It features an hourly cuckoo call, ambient lighting, and a moving Santa sleigh. It runs on three AAA batteries that are not included.
For the display setup, keep the pine-cone pendant within reach: pulling it activates the lights and music. That control is separate from the clock’s hourly cuckoo call, so leave room to use it without disturbing the scenery.
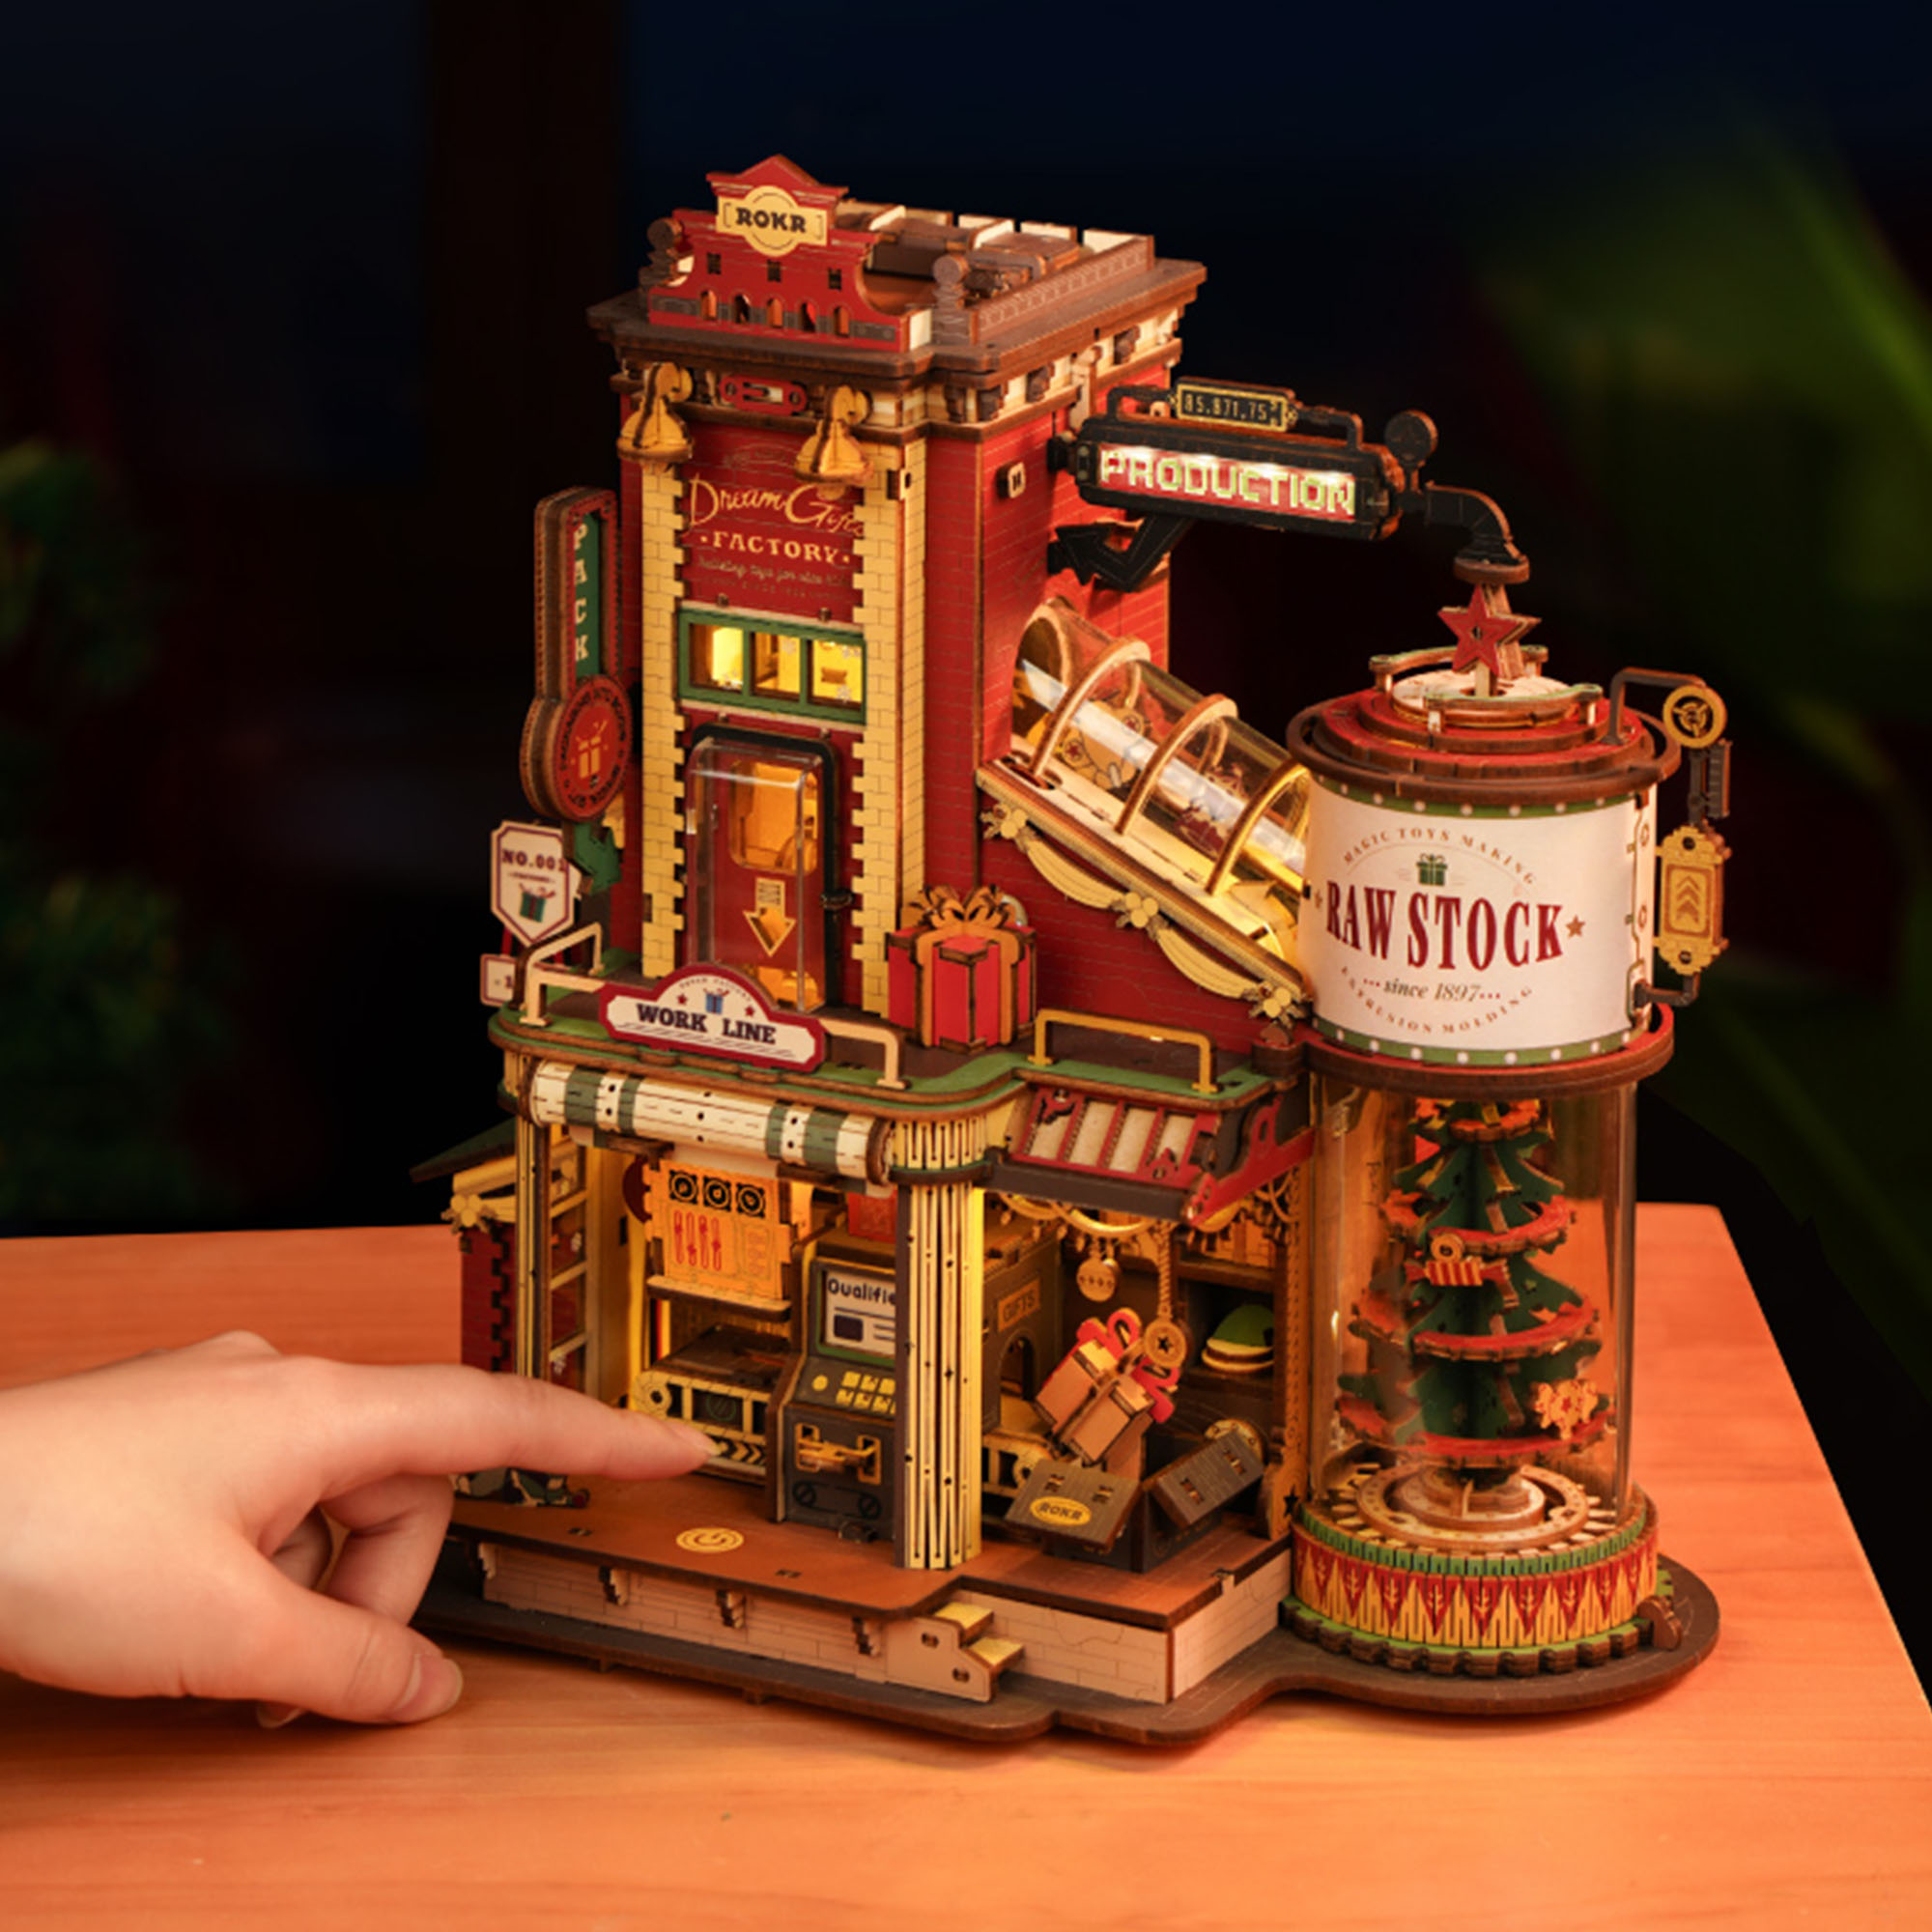
The Dream Gift Factory EAB01 suits a workshop theme. This 449-piece build measures 9.6 by 6.4 by 10.1 inches and features a conveyor belt, a rotating packaging station, and six lights. It draws power over USB-C. You supply the cable.

The Swing Ride EA02 is a rotating attraction with lights and music, needing lateral clearance around the carousel top.

The Parachute Tower EA01 adds vertical motion as its parachutes rise and fall. It stands 11.8 inches tall on a 5.5-inch square footprint, so check the headroom as well as the shelf depth.

Those power sources make a useful point. One takes AAA batteries and another USB-C, so requirements differ between products.
Common Mistakes to Avoid in Your Christmas Village Display
Before you call the display finished, check for the mistakes that make a good collection harder to enjoy:
- Filling every gap. Keep some open space around your focal point and along the street. If the scene feels crowded, remove a few small decorations before moving the main pieces.
- Measuring only the base. Check the full path of anything that swings, rotates, rises, or slides. A model can fit on the shelf while its moving parts still catch a nearby tree.
- Hiding the controls with the cables. Leave switches, battery compartments, and power connections reachable. You should not have to take the village apart to turn one model off.
- Burying power equipment under scenery. Keep adapters and power strips uncovered, ventilated, and accessible. A snowy backdrop can hide the view of a cable without covering the equipment itself.
- Adding more plugs without checking the load. Stay within the rated limits of the outlet, power strip, and any extension lead. Do not connect power strips to one another to make room for more models.
- Skipping the final test. Run each moving piece through a full cycle after the scenery is in place. Watch for snagging cables, loose decorations, and anything that moves closer to a mechanism than you expected.
Start With One Piece and Build Around It
You do not need a full village to begin. One moving model with good lighting, a backdrop, and a few well-spaced supporting pieces already reads as a scene. You can add to it season by season.
If you are choosing that anchor piece, the ROKR Christmas collection covers different display roles, from a vertical clock to a workshop centerpiece. Check the assembled dimensions and power source before you buy, then measure your shelf.
FAQs About Christmas Village Displays
How do you make a Christmas village look realistic?
A consistent theme can make a Christmas Village look realistic, helped by layered scenery and one clear focal point. Matching scale exactly is one approach, but a decorative scene can combine differently sized models on purpose and still look deliberate.
How much space do you need for a Christmas village?
The space you need for a Christmas Village depends on your largest pieces, how many decorations you have, and the clearance your moving models need. Measuring the surface first avoids buying something that will not fit.
Can you mix Christmas village decorations from different brands?
Yes, you can mix Christmas Village decorations from different brands when the colors and architectural styles work together. Pieces don't need to be the exact same scale if you are designing a decorative scene instead of a strict scale model.
How do you display moving Christmas decorations safely?
Start with a stable surface that can support the display, then leave enough room for each model’s full range of motion. Keep cables, artificial snow, and small decorations away from gears and moving figures. Use the power source specified in each product’s instructions, keep adapters ventilated, and leave switches and connections accessible. Run each model through a full test cycle. Switch the display off before adjusting scenery, leaving home, or going to sleep.