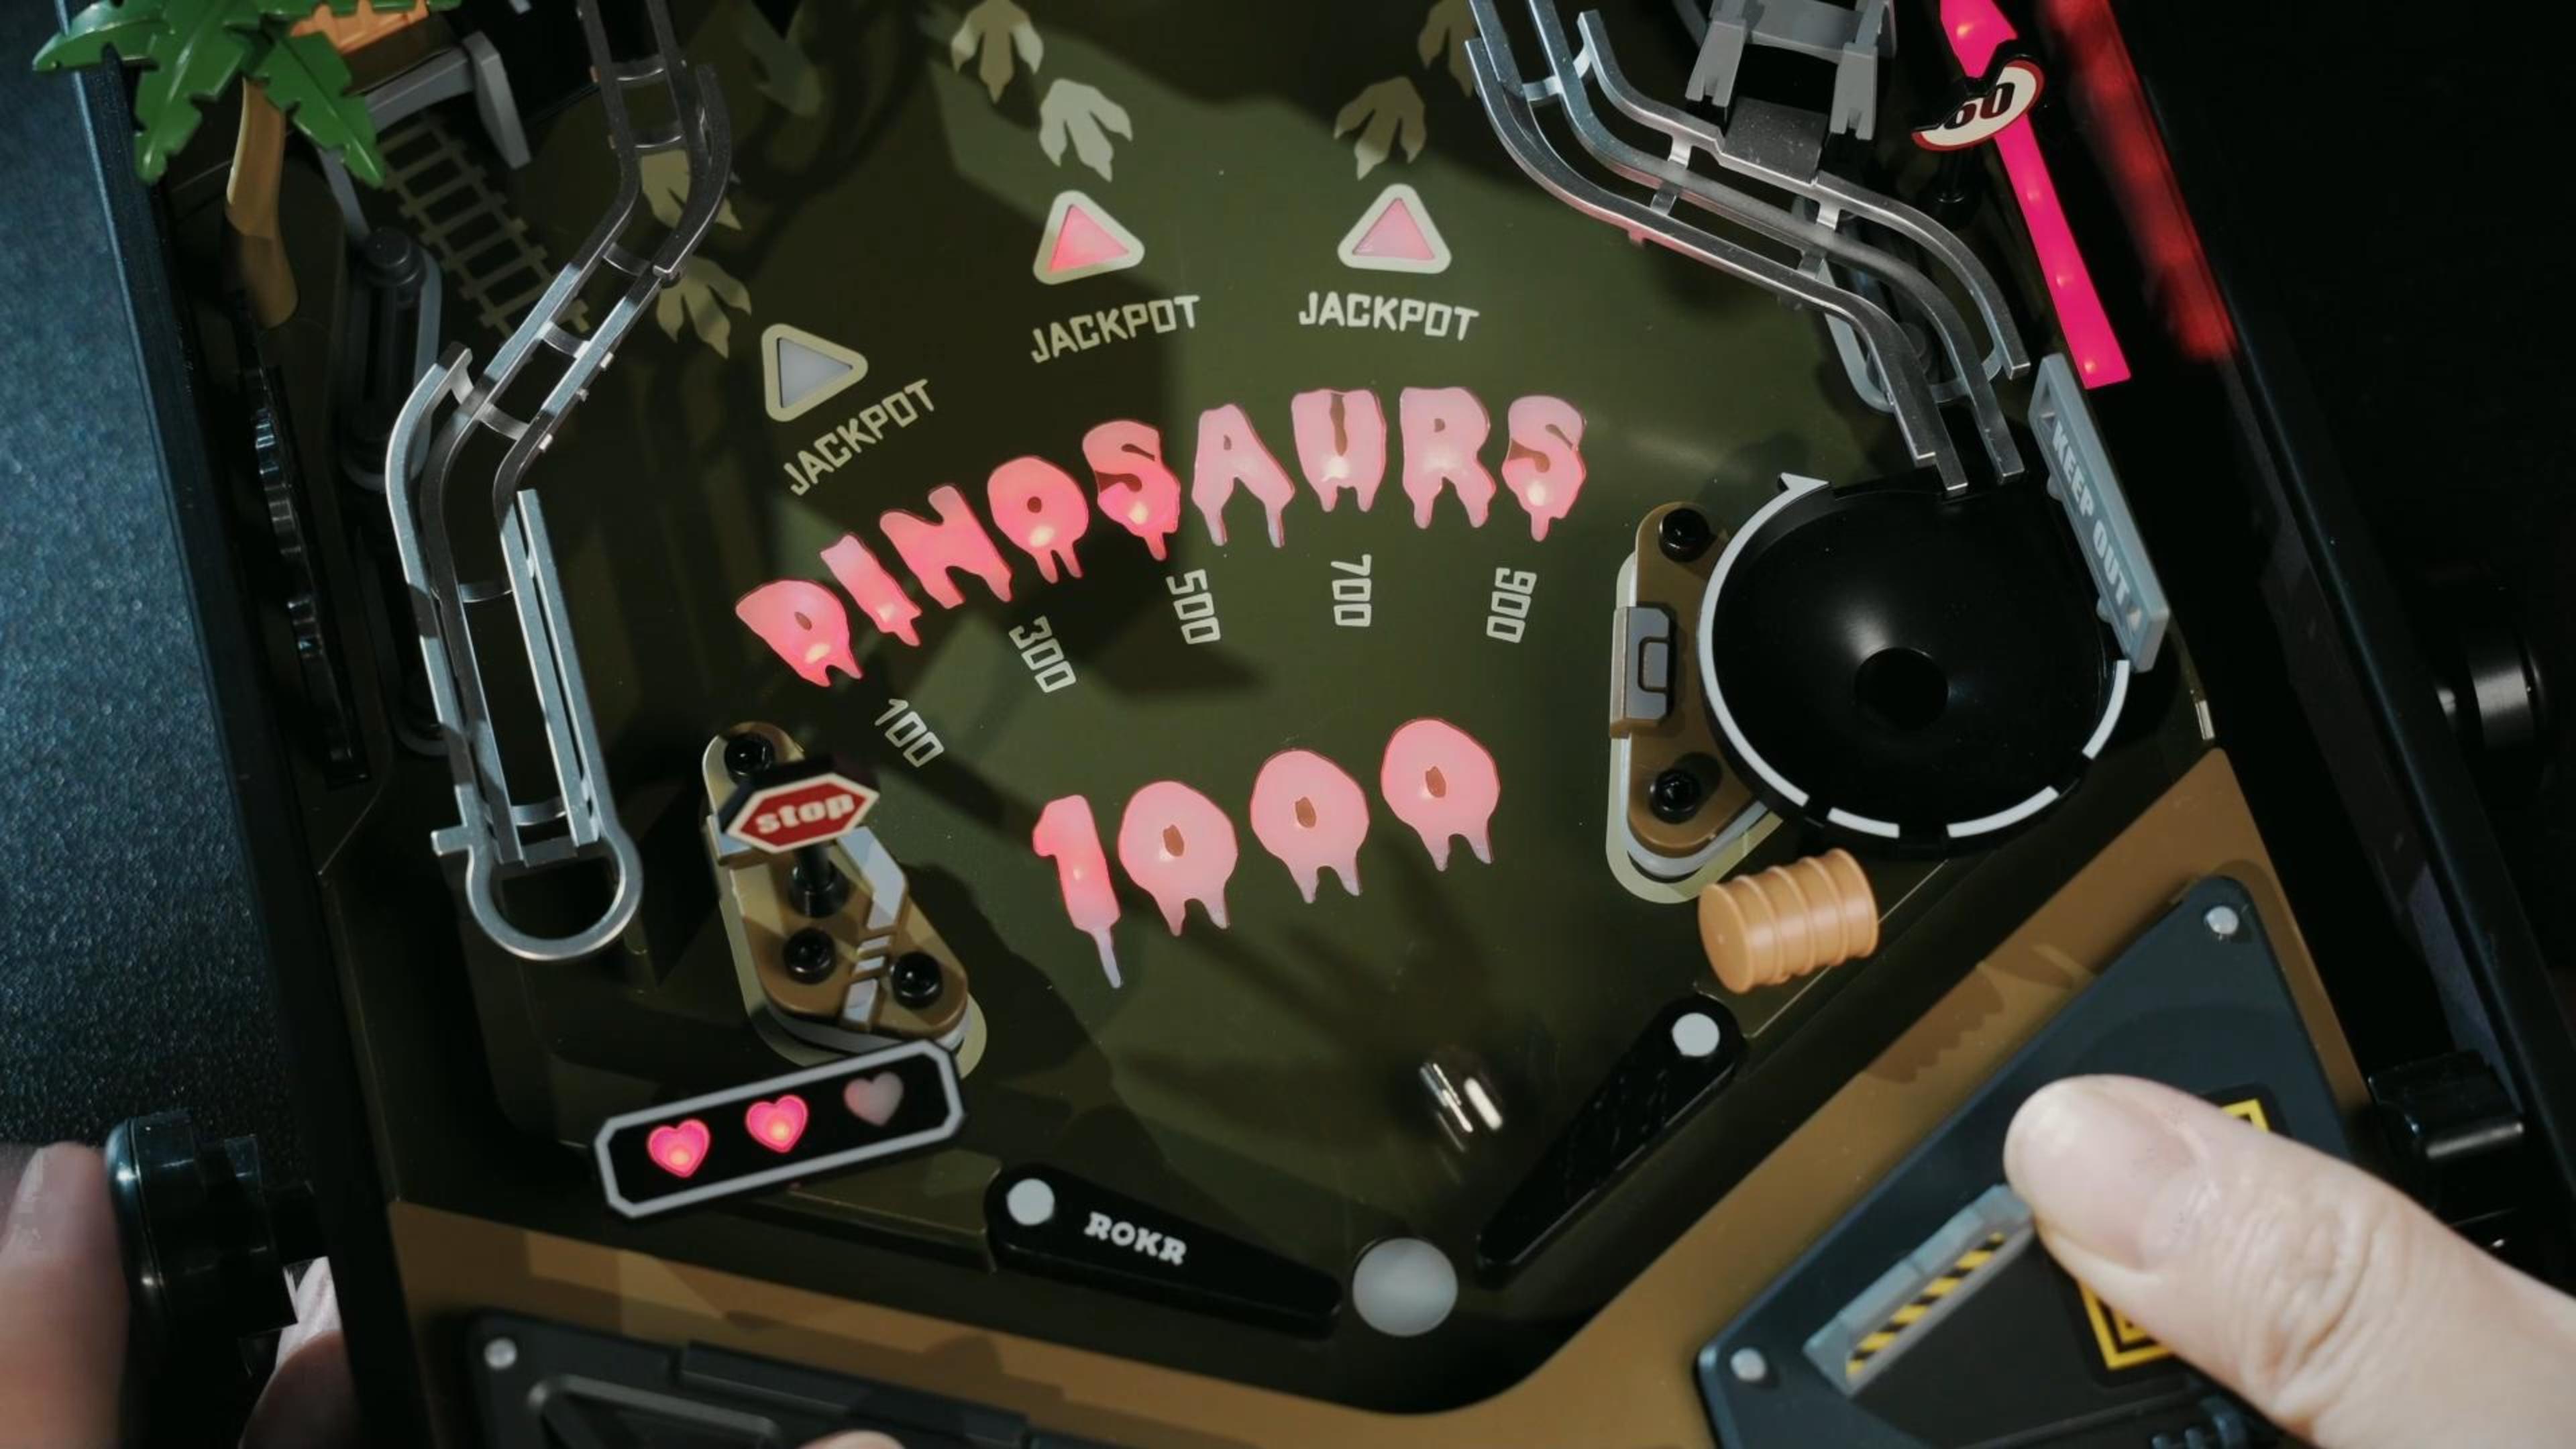
Iteration is easy to define and harder to feel. Students can memorize that it means improving through repeated attempts, but the idea becomes clearer when a design changes in front of them. A marble run challenge gives iteration a visible path: the marble moves, slows, stops, or succeeds, and every result gives students a reason to think again.
That makes marble runs especially useful for hands-on STEM education. Instead of treating mistakes as the end of an activity, students can treat each run as evidence. They predict what will happen, test the route, adjust one variable, test again, and explain what changed.
The goal of a marble run challenge is not only to get the marble to the end. The real learning happens when students can explain why one change made the system behave differently.
Why Marble Runs Teach Iteration So Well
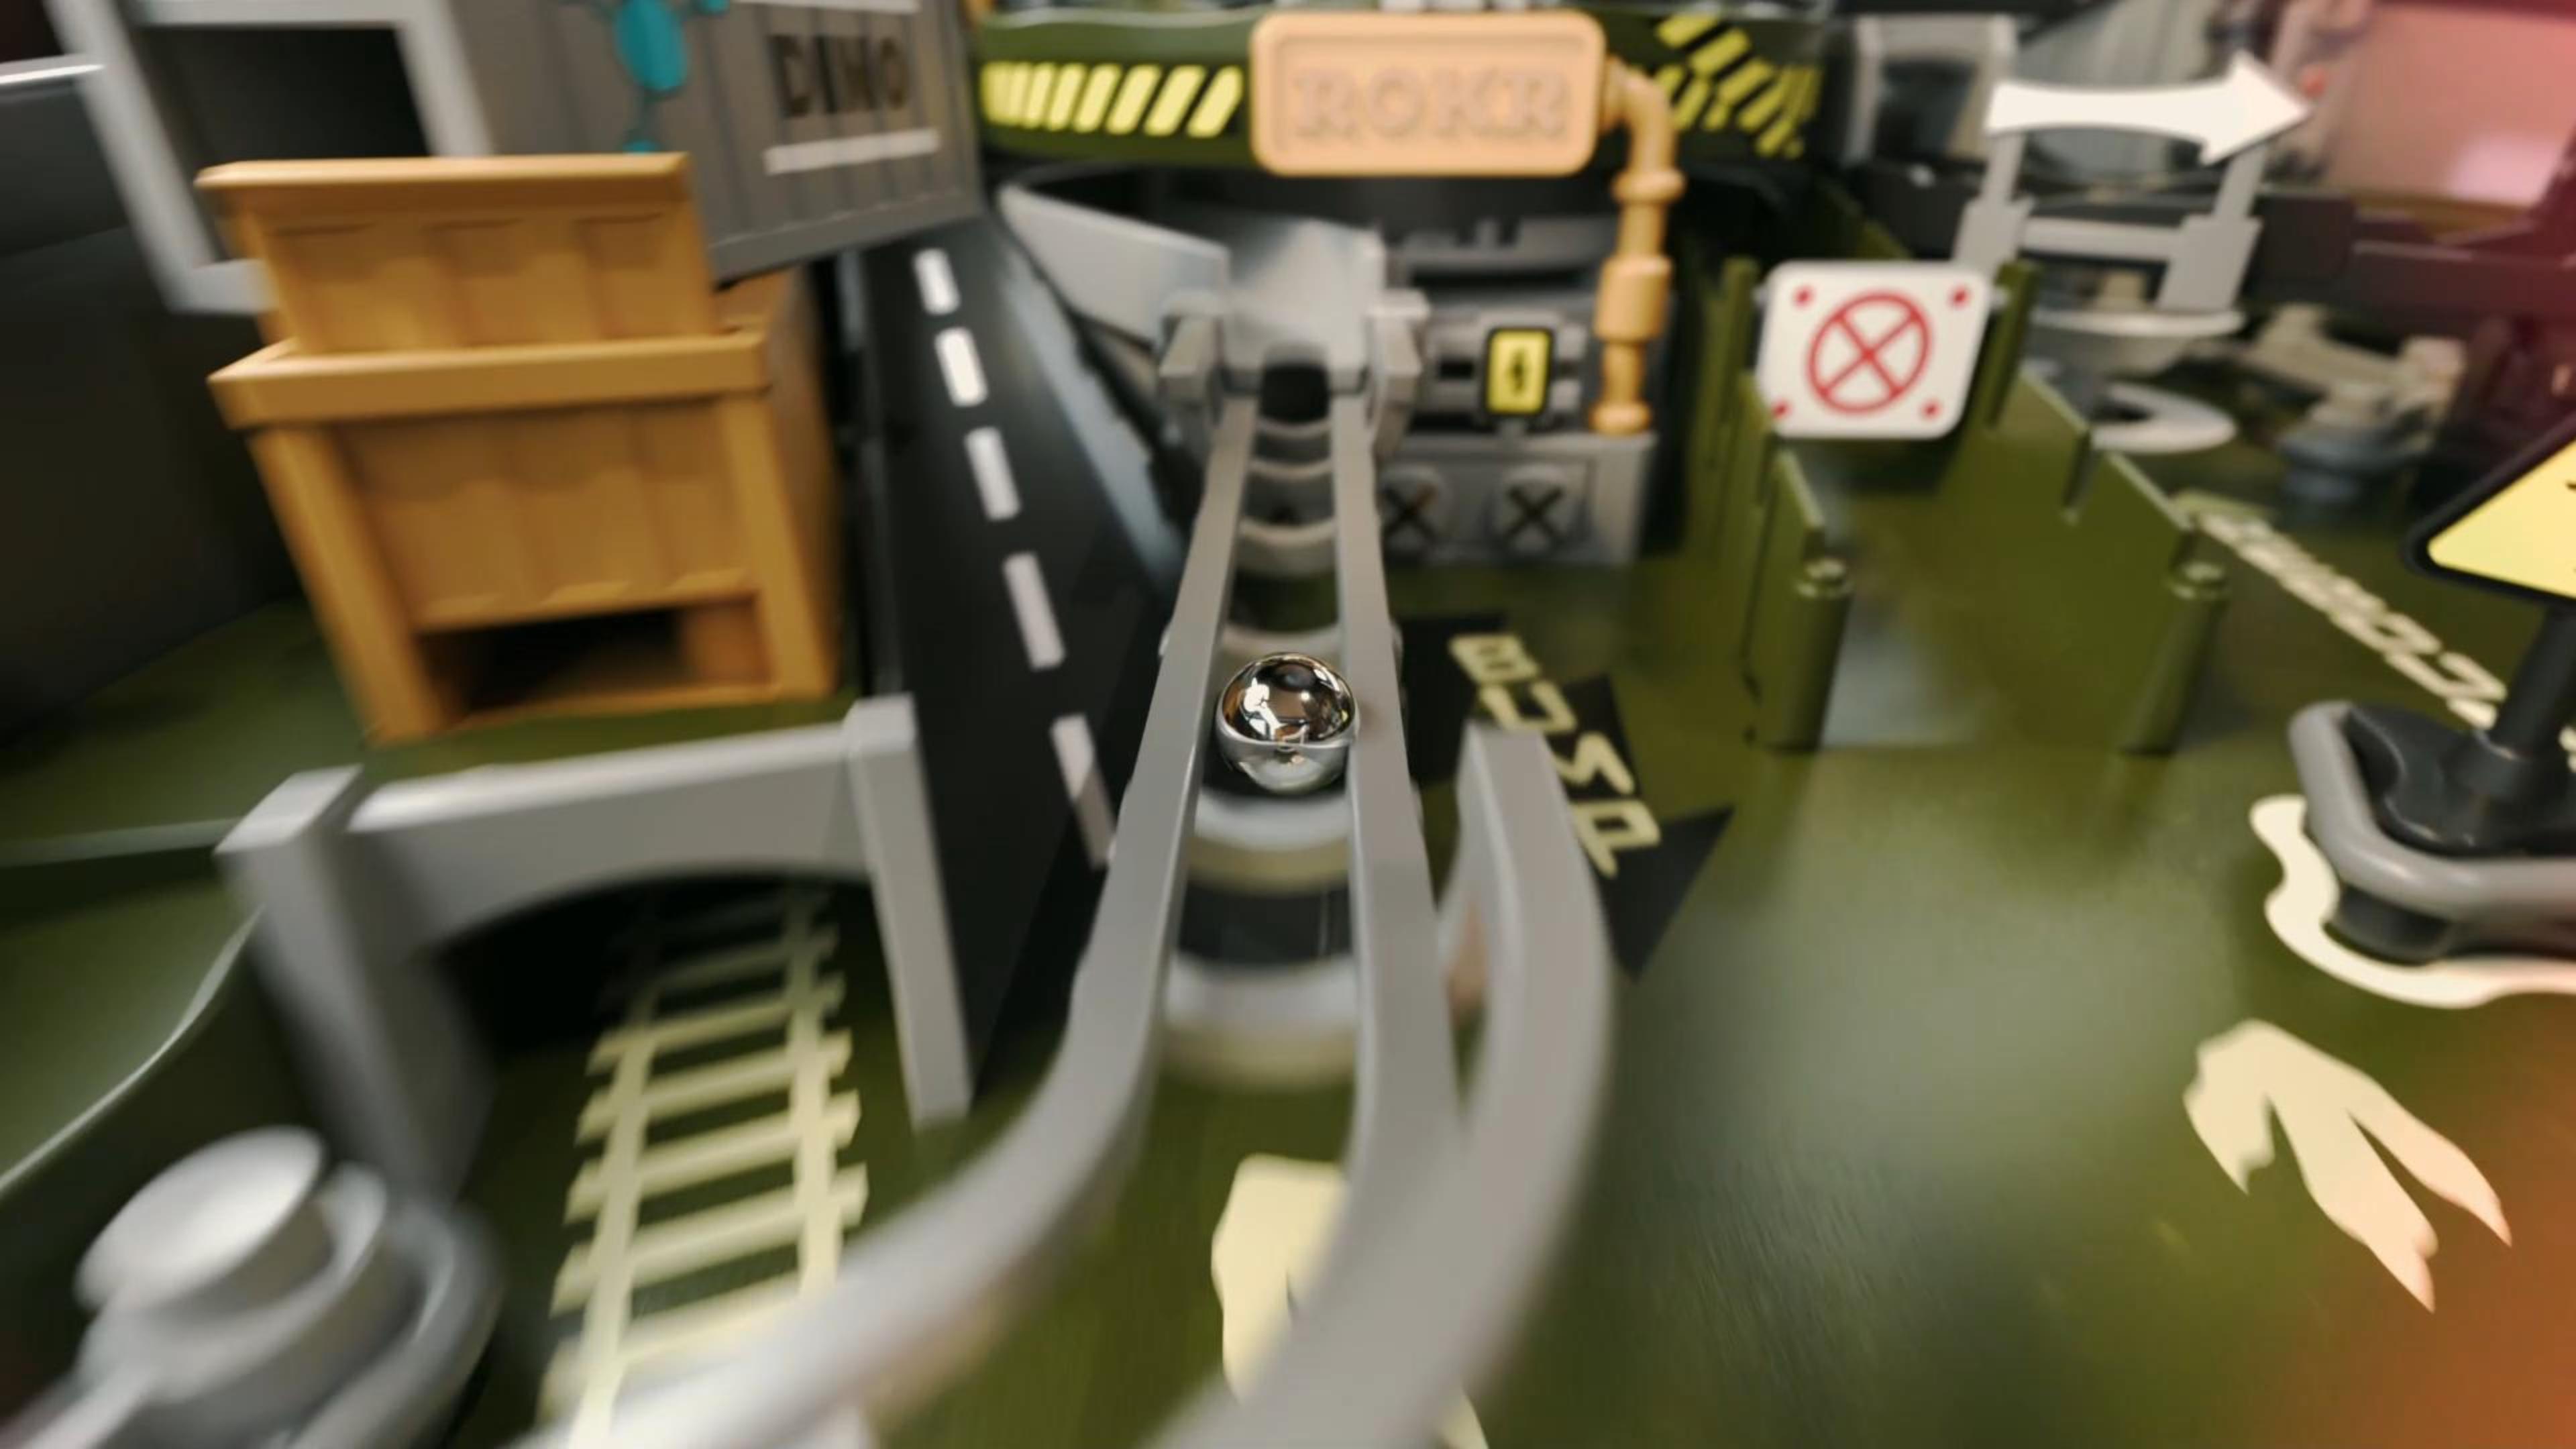
A good iteration activity needs fast feedback. Marble runs provide it naturally. If the track is too steep, the marble may race past the intended section. If a path is too flat, it may slow down. If two pieces are not aligned, the marble may stop. Students can see the result immediately and connect it to the design choice that caused it.
The ROKR Marble Run collection works well for this kind of thinking because the models are built around moving tracks and gear-driven mechanisms. The challenge is not abstract. Students can watch motion, friction, speed, timing, and cause and effect in one tabletop system.
- Visible feedback The marble shows whether a design choice works without waiting for a grade or final answer.
- Small variables Students can change one track angle, one route, or one test condition at a time.
- Repeatable tests The same run can be repeated so students compare results instead of guessing.
- Low-pressure failure A stopped marble is not a disaster; it is a clue about what to try next.
Set the Learning Goal Before the Build
Before students touch the model, frame the challenge around a clear learning goal. If the goal is only "make it work," students may rush toward the finish. If the goal is "improve the run using evidence," students have permission to slow down and think.
A simple prompt is enough: design or observe a marble route, run it once, choose one improvement, and explain the difference after the second test. This prompt keeps the activity focused on iteration rather than decoration, speed, or completion alone.
| Challenge goal | What students observe | Iteration question |
|---|---|---|
| Keep the marble moving smoothly | Where it slows, bumps, or stops | Which part of the route needs one small change? |
| Control speed | Where the marble moves too fast or too slowly | How does angle or timing affect motion? |
| Improve reliability | Whether the same run works more than once | Can the system repeat the result consistently? |
| Explain cause and effect | What changed after the adjustment | What evidence shows the second design is better? |
Run the First Test Without Fixing Everything
The first run should be a baseline, not a rescue mission. Ask students to observe before they adjust. Where did the marble speed up? Where did it lose momentum? Did it stop because of alignment, friction, height, timing, or a missing connection?
This first run teaches an important habit: do not change five things at once. If students adjust the track, the starting height, and the route at the same time, they may get a better result but lose the reason why. Iteration works best when the change is specific enough to explain.
Change One Variable at a Time
After the first test, ask students to choose one variable. That might be the route, the angle, the timing, a connection point, or a section they want to inspect more carefully. The important rule is simple: one change, one new test.
This rule turns a playful build into a design-thinking activity. Students learn that evidence is easier to trust when the test is controlled. They also learn that a better design is not always a bigger change. Sometimes the most useful iteration is a small adjustment made at the right spot.
Use this sentence frame: "We changed ___ because ___. After the second test, the marble ___, so we think ___."
Teach the Iteration Loop Step by Step
To keep the challenge clear, give students a repeatable loop. The loop should be short enough to remember and practical enough to use while the model is on the table.
- Predict what the marble will do before the first run.
- Test the route once without changing anything.
- Mark the section that most affected the result.
- Adjust one variable only.
- Run the same test again.
- Compare the two results and explain the evidence.
This loop connects directly with the broader lesson in how mechanical model kits help students practice patience, testing, and iteration. A marble run simply makes that process faster to see because motion gives immediate feedback.
Use Roles to Keep Students Thinking
If the challenge is done with a group, roles can prevent one student from doing everything while others only watch. Rotate the roles after each test so everyone practices observation, design, and explanation.
| Role | Job | Question to ask |
|---|---|---|
| Predictor | Says what they expect before the run | What do you think will happen first? |
| Observer | Watches where the marble changes speed or stops | Where did the system show a problem? |
| Adjuster | Changes one variable after the team decides | What exactly are we changing? |
| Explainer | Compares the first and second test | What evidence shows the design improved? |
Make Reflection Part of the Challenge
Students often want to keep building once the marble moves successfully. That excitement is useful, but the reflection is where the learning becomes portable. Ask students to write or say one sentence about the change they made and why it mattered.
For example: "The marble stopped at the curve during the first test, so we checked the connection and adjusted the track angle. In the second test, it kept moving because the route was smoother." That kind of explanation shows iteration, evidence, and cause and effect in one compact moment.
Choose the Right Marble Run Challenge
The best challenge depends on the students and the time available. A short lesson can focus on one visible section of a marble run. A longer session can ask students to compare multiple tests, build a simple data table, or explain the route as a system.
If students are newer to hands-on builds, keep the goal narrow: identify one place where the marble changes behavior and improve that one moment. If students are more advanced, ask them to define success before testing, such as smoother motion, more consistent repeats, or a clearer explanation of cause and effect.
FAQ
What does iteration mean for students?
Iteration means improving through repeated attempts. In a marble run challenge, students make a prediction, test the run, adjust one part, test again, and use evidence to explain the result.
Why use a marble run to teach iteration?
A marble run gives fast, visible feedback. Students can see where motion changes and connect the result to track angle, route, timing, friction, or alignment.
How long should a marble run challenge take?
A focused challenge can take 20 to 30 minutes if students test one section. A longer activity can include multiple rounds, roles, a written reflection, and a final explanation.
A marble run challenge teaches iteration because it makes improvement visible. The marble becomes the feedback. The track becomes the design. The student's job is to notice, adjust, test again, and explain what changed. That is the heart of iteration in a form students can see moving across the table.