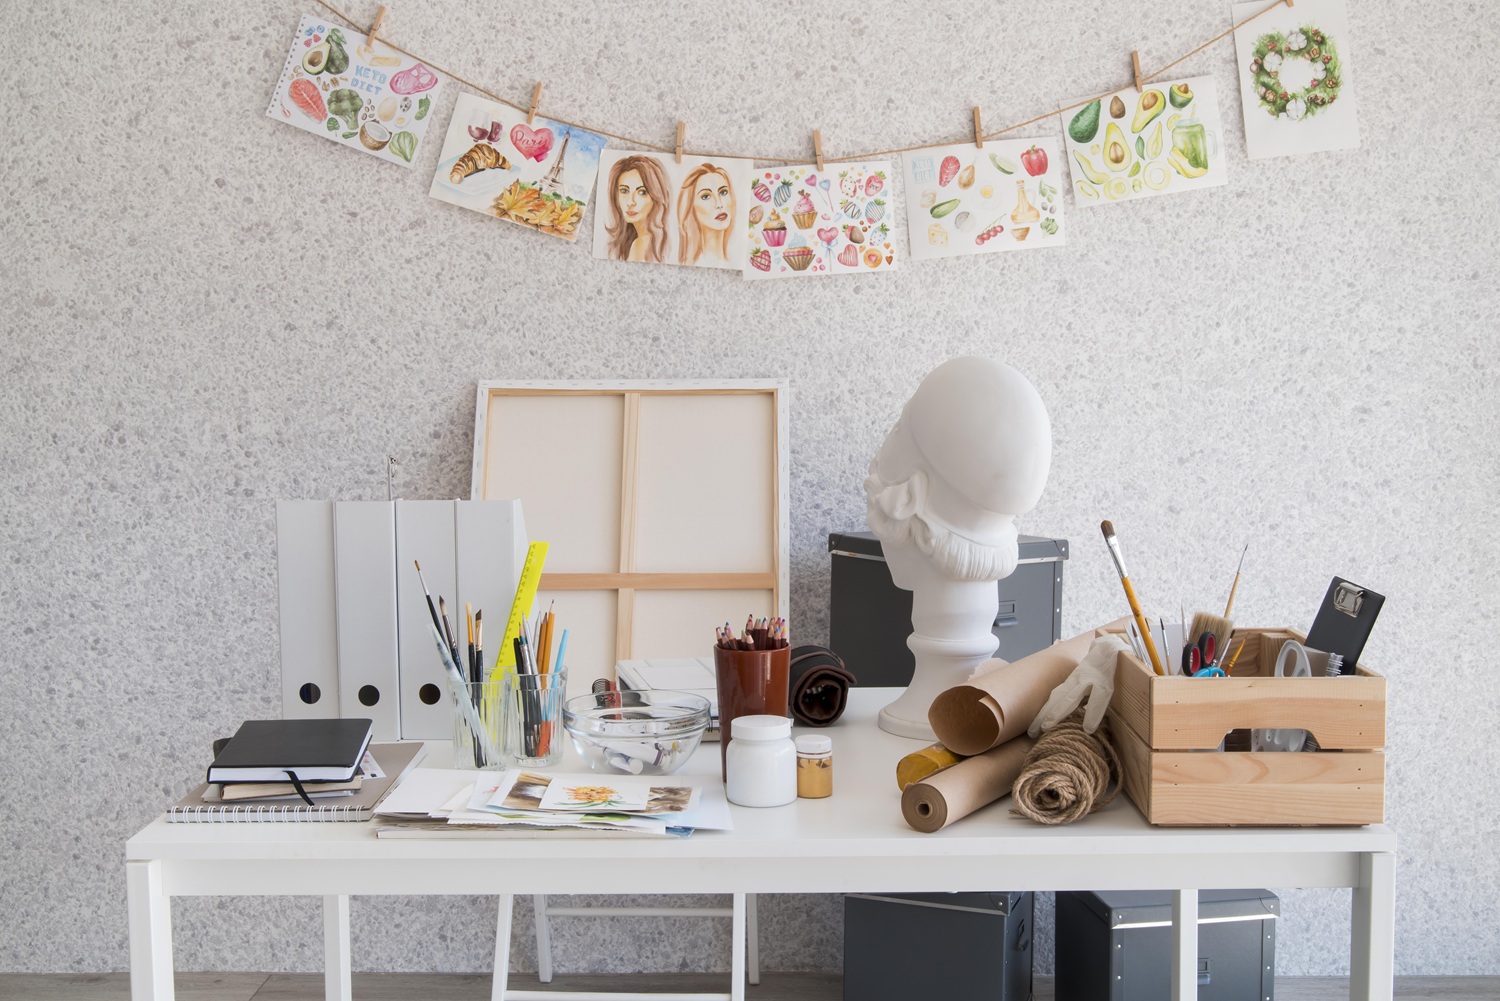
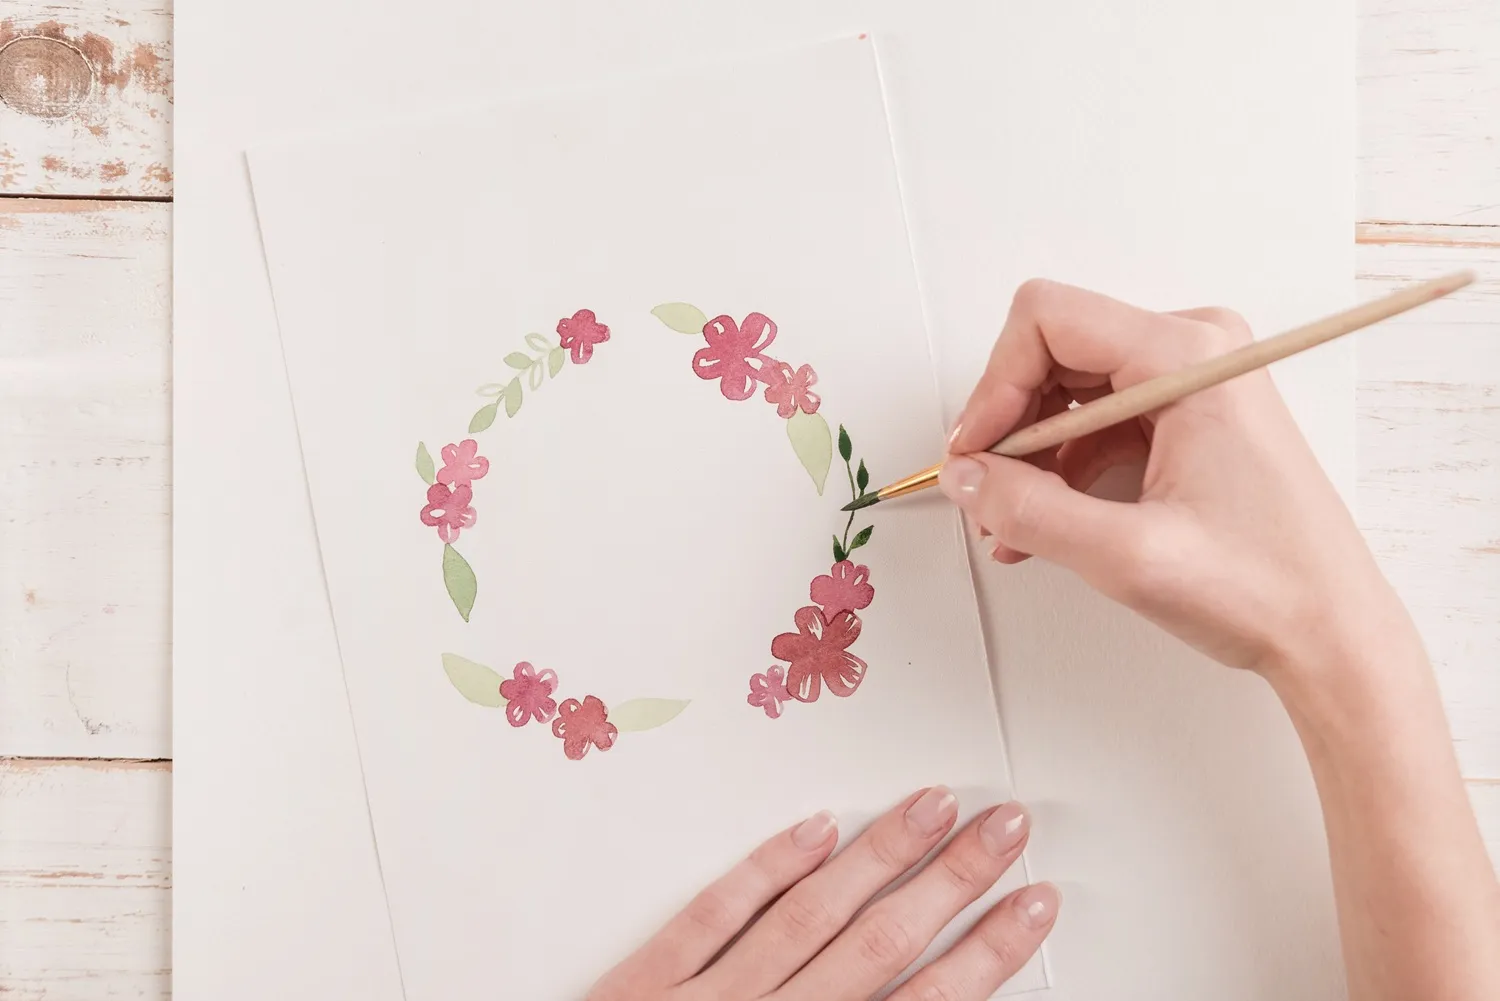
Looking for something creative to make at home? The right project depends on how much time you have, how you like to work, and what you would like to have when you finish. A small clay dish can begin with half an hour at the kitchen table. A knitted cushion might take several evenings. A mechanical model gives you a sequence of parts and moving systems to work through over a weekend or longer.
These ten craft projects for adults cover quick creative sessions, useful home decor, skills you can keep developing, and more involved builds. Each offers a different kind of making. Start with the experience you want, then choose a finished piece you would enjoy using, displaying, or sharing.
How to Choose an At-Home Craft Project
Before gathering supplies, decide how much space and attention you can give the project. Think about your available sessions, whether you enjoy open-ended design or clear instructions, and where the finished object will go.
| If you want... | Try... | Typical commitment |
|---|---|---|
| A short creative session | A clay dish or art made with already-pressed flowers | 30 minutes to 2 hours of making, plus any drying |
| A steady, repetitive process | Embroidery, needlepoint, or macrame | A few sessions, depending on size |
| Something useful for your home | A candle or a handmade plant hanger | An afternoon of making; candles also need curing |
| A detailed assembly challenge | A mechanical wooden model | Several hours across one or more days |
| A shared creative evening | Coordinated paintings or decorated plant pots | A 1-3 hour session, plus drying |
How You Like to Work
Your preferred way of making matters as much as your available time. Some projects leave the design decisions to you; others offer a pattern or a set of instructions so you can concentrate on the making.
| If you prefer... | Try... |
|---|---|
| Making your own design decisions | Painting or air-dry clay |
| Following a pattern | Embroidery or macrame |
| Following detailed instructions | A mechanical wooden model |
| Repetitive handwork | Crochet or knitting |
Count making time and waiting time separately. Shaping clay, pouring wax, and arranging flowers can be quick. Drying, curing, or pressing may take days or weeks. The times here are planning estimates for small projects, not guaranteed completion times.
10 Creative Craft Projects for Adults to Try at Home
1. Shape a Small Piece with Air-Dry Clay
Best for: A beginner project with a useful decorative result.

A jewelry dish, ring holder, or small sculptural object gives you a manageable place to start. Air-dry clay does not need a kiln, and your fingers can do much of the shaping. Use a washable work mat, a simple rolling tool, and a little water as directed by the clay maker.
Keep your first design compact: a shallow oval dish with an uneven rim can feel personal without needing elaborate carving. Add color once it has dried fully. Drying is a separate stage; for example, Crayola's drying guidance gives around 72 hours for complete drying, depending on the piece and conditions.
Check the clay manufacturer's guidance before using the finished piece with food, water, heat, or candles.
2. Make Your Own Container Candle
Best for: Functional home decor with a choice of scent and presentation.
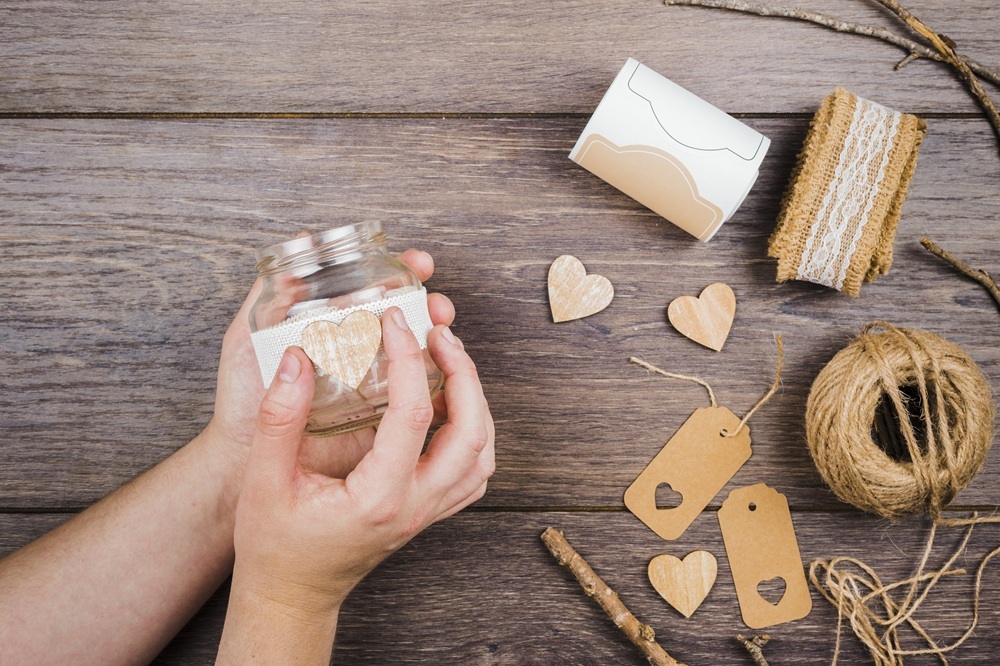
Candle making combines a measured process with a few personal decisions. You can choose a scent, select a container, and design a label that suits a room or a gift. A beginner kit with matched wax, wicks, and containers reduces the number of variables you have to manage.
Expect to need a scale, thermometer, suitable melting or pouring equipment, and a protected work surface. CandleScience's beginner supplies guide explains what the different materials and tools do.
Allow an afternoon for preparation and pouring, plus curing time afterward. Use candle-making containers, keep combustible decorations out of the wax, and follow the kit's heating, curing, and burning instructions.
3. Arrange Pressed Flower Art
Best for: Nature-inspired wall art, cards, or bookmarks.
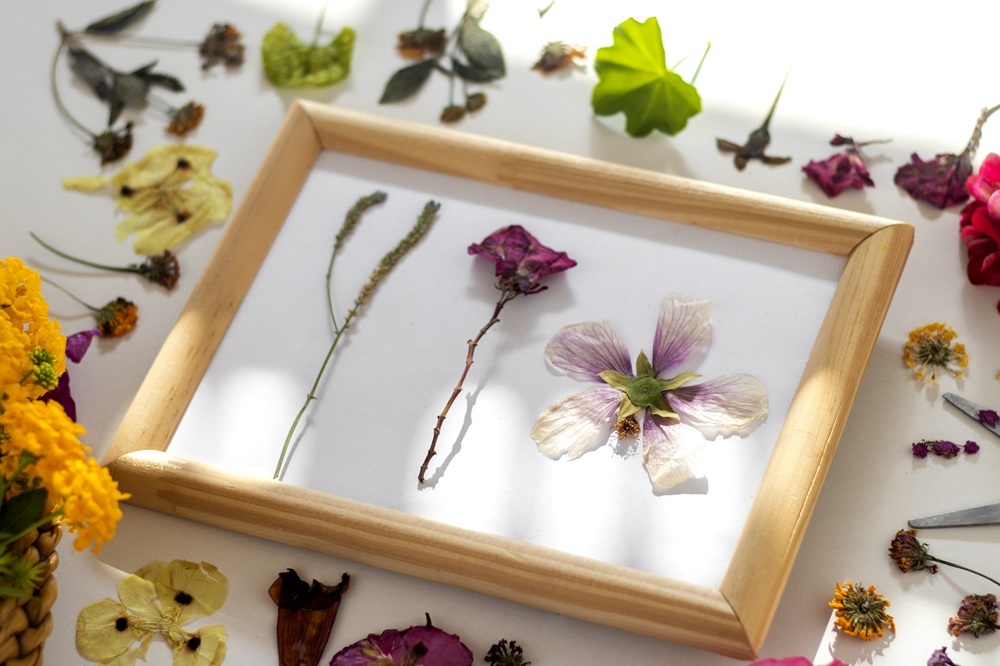
A few small flowers and leaves can become a framed botanical arrangement. Start by placing them loosely on a sheet of paper, leaving space around each shape. Try a single stem, a row of contrasting leaves, or a small cluster in one corner before attaching anything.
Already-pressed flowers make this a short craft session. If you are pressing fresh material yourself, build in a longer wait: the Royal Horticultural Society's pressing guide allows two to four weeks for its book or flower-press methods. Once the material is fully dry, assemble your design with paper and suitable craft adhesive. A frame turns a small arrangement into something ready to display.
4. Try Embroidery or Needlepoint
Best for: A quiet project that grows a little at a time.
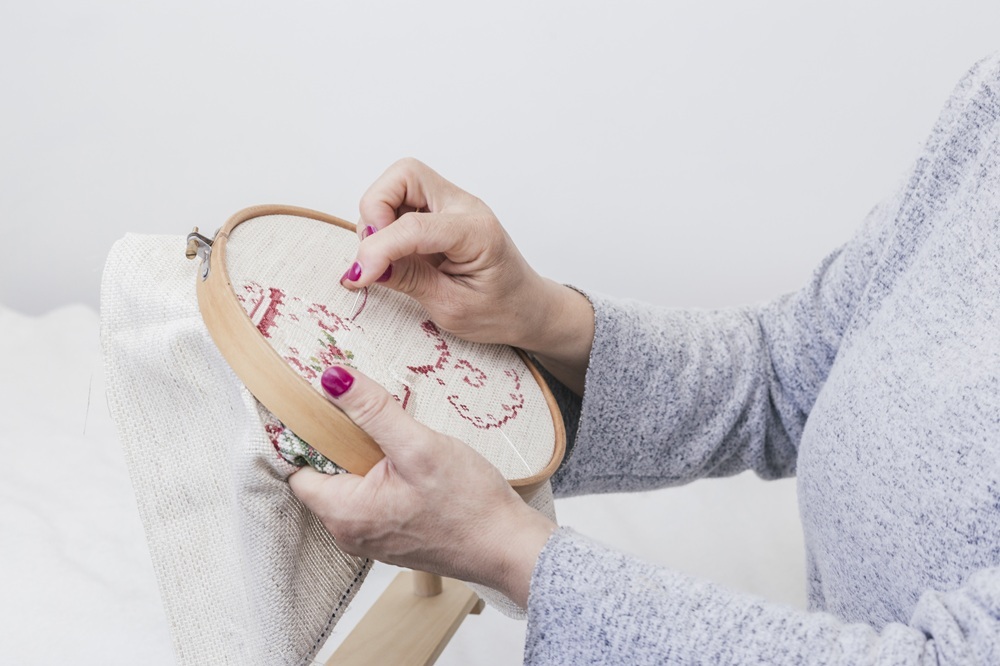
Embroidery and needlepoint suit people who enjoy repeating a small action and seeing a pattern gradually appear. Embroidery uses stitches on fabric; needlepoint is worked through a canvas mesh. A small kit with a clear pattern makes either approach easier to organize.
Choose a simple motif or a limited color palette for your first piece. You will need the appropriate needle, thread or yarn, scissors, and the fabric or canvas your pattern specifies; embroidery commonly uses a hoop. Work through a short section each evening, then finish the piece for framing or display. Keep the first design small enough that completing it feels within reach.
5. Knot a Macrame Wall Hanging or Plant Hanger
Best for: Handmade decor with texture and a clear pattern.
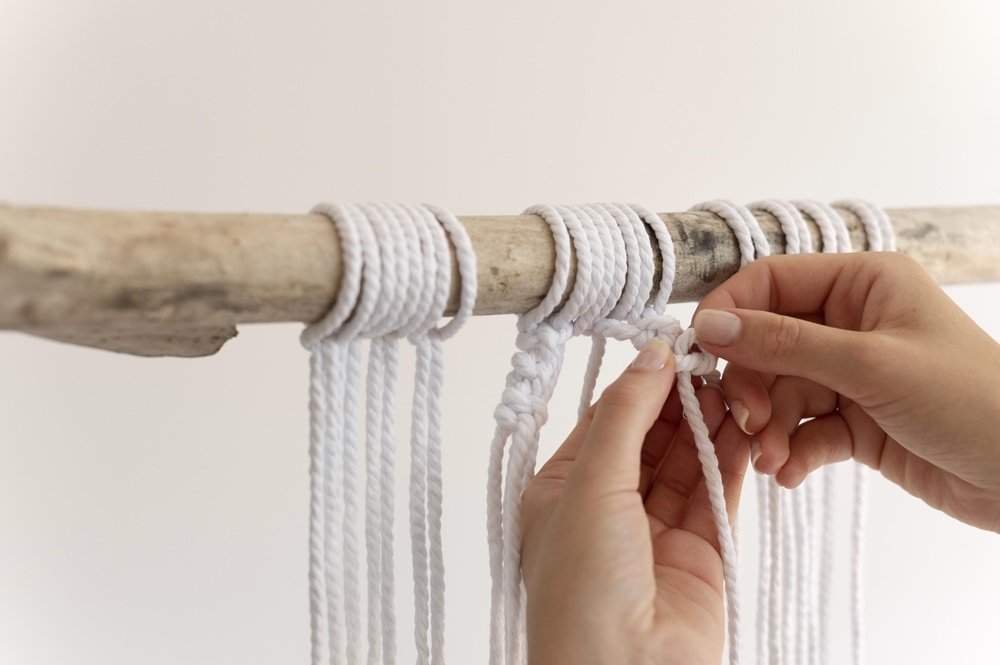
Macrame turns repeated knots into a wall hanging, plant hanger, or small organizer. It offers structure without the tiny components of a model kit, and you can see the pattern develop as the cords take shape.
Start with a design built around a small number of knots. Gather cord, scissors, a measuring tape, and the ring or dowel specified by the pattern. A secure place to suspend the work helps keep your hands free. For a plant hanger, follow the pattern's cord and support recommendations and check the finished hanger with the intended pot before displaying it.
6. Paint a Canvas or Decorative Object
Best for: Freedom to choose your own colors, shapes, and style.
A small canvas, a terracotta plant pot, a decorative vase, or a wooden tray gives painting a clear purpose. Pick an object and a place for it first. Then choose two or three colors that work with that space.
Stripes, repeated dots, broad blocks of color, and simple botanical shapes are approachable starting points. Use paint suited to the surface and follow its preparation and drying instructions. Check the paint manufacturer's guidance before using a finished surface with food, drink, or water. The finished object can be as restrained or expressive as you want.
7. Build a Mechanical Wooden Model
Best for: Structured making with a finished object to display or operate.
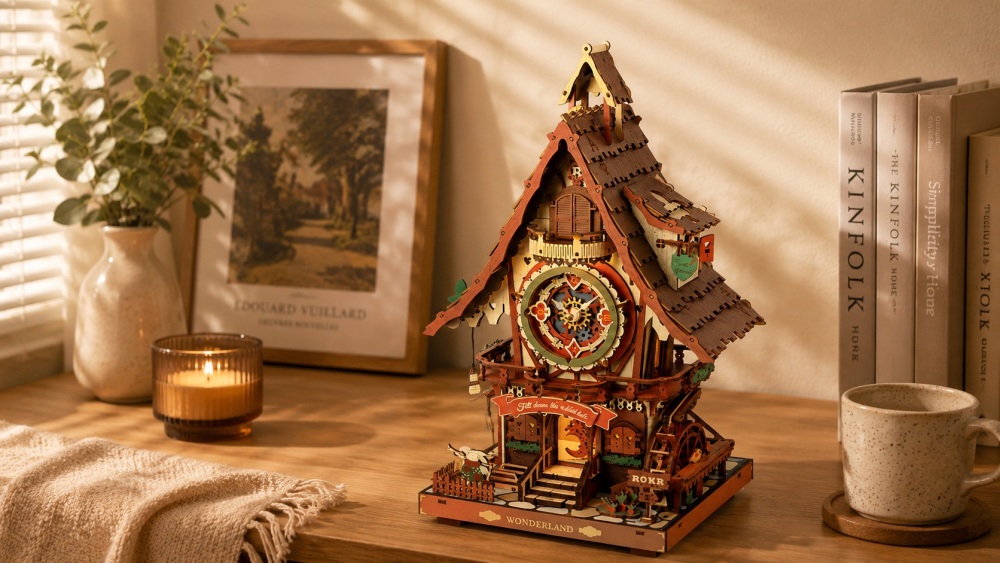
Not every creative project starts with a blank canvas. A mechanical wooden model gives you a defined destination and detailed instructions, while leaving plenty to discover as you build. You identify parts, fit components, and test how separate pieces work together. This kind of creativity suits people who enjoy a plan, careful assembly, and understanding how an object works.
With mechanical wooden model kits, progress becomes visible when a moving section starts to work. Allow time for checking fit and alignment as well as assembly, and choose a kit that matches your patience and experience. A detailed build often suits several sessions; a tray helps keep the work together between them. Some models add movement, light, music, or a practical function, so choose for the finished result too.
| ROKR model | Best for | Approx. build |
|---|---|---|
| Mechanical Typewriter LK703B | Mechanical interaction | About 12 hours |
| Cuckoo Clock LC901C | Functional decor | About 6 hours |
| Dream Coffee Factory EAB02 | Motion, light, and music | Multiple sessions |
Mechanical Typewriter LK703B. Moving keys, an ink ribbon, and a traveling carriage let the completed model type on paper. Choose it for the connection between careful assembly and mechanical interaction, with time for testing and adjustment.

Cuckoo Clock LC901C. A cottage-shaped wooden clock and working cuckoo chime give the finished piece a practical role at home. It suits makers who want to keep using what they build.
Dream Coffee Factory EAB02. A miniature coffee-production scene combines moving mechanisms, warm LEDs, and jazz music. Choose it for an animated cafe display that comes to life after assembly.
Build in stages. Test moving sections as directed, and stop at a clear instruction boundary so the next session is easy to start.
8. Make a Handmade Floral Arrangement
Best for: Decorative crafting with control over color and shape.
Fold paper flowers, assemble a wooden flower kit, or arrange dried stems into a small bouquet. Each approach lets you make decor for a particular vase, shelf, or table. Paper flowers offer freedom over petal shapes; a wooden kit provides defined parts and instructions; dried flowers let you concentrate on composition.
Choose a limited palette and start with one focal bloom, then add smaller stems around it. Check the required tools before beginning: paper flowers may need scissors and adhesive, while kit requirements vary. Keep the arrangement modest for your first session so you can adjust its height and balance without managing a large bouquet.
9. Learn Crochet or Knitting
Best for: Building a skill you can use across future projects.
Crochet and knitting can lead to scarves, bags, cushion covers, and blankets, but a small square or simple dishcloth is a more manageable first finish. You can practice consistent stitches and edges before committing to a larger pattern.
Use yarn and a hook or needles that match a beginner pattern. Light-colored yarn with a smooth texture can make individual stitches easier to see. Expect the first sessions to include starting over as you learn the movements. Once a basic stitch feels familiar, choose a useful item you are happy to make gradually. Larger pieces can become ongoing evening projects rather than single-weekend tasks.
10. Make a Simple Mosaic
Best for: Decorative pattern-making without drawing skills.
A mosaic coaster, small tray, or picture frame starts with arranging pieces rather than drawing an image. Choose pre-cut tiles and a base made for the project, then try a border, stripes, or a loose color pattern before attaching anything. A kit that avoids tile cutting makes the first attempt easier to organize.
You will typically need suitable adhesive, grout if the design calls for it, and cleanup supplies. Leave time between laying the tiles and finishing the surface: The Mosaic Store's coaster instructions, for example, separate adhesive drying from grouting. Follow your chosen kit's drying, handling, and sealing guidance so the finished piece suits its intended use.
Which Craft Project Is Right for You?
Compare the smallest version of each project first. A small embroidery motif and a large cushion cover belong to the same craft, but ask for very different commitments. The table below assumes a modest first project; skill levels and mess levels are relative guides.
| Project | Starting level | Hands-on time | Waiting / continuation | Mess | Main tools | Finished result |
|---|---|---|---|---|---|---|
| Air-dry clay | Beginner | 30 minutes-2 hours shaping | Drying afterward; timing varies by clay and size | Medium | Mat, rolling tool; no kiln | Dish or sculpture for decor |
| Candle making | Beginner with instructions | 1-2 hours making | Cooling and curing as directed | Medium | Scale, thermometer, pouring equipment | Usable candle |
| Pressed flower art | Beginner | 30-60 minutes arranging | 2-4 weeks first if using the fresh-flower pressing methods above | Low | Paper, adhesive; books or press if needed | Framed art, cards, bookmarks |
| Embroidery or needlepoint | Beginner to intermediate | Several hours; varies by pattern | Easy to continue over short sessions | Low | Needle, scissors, fabric or canvas; hoop as needed | Textile artwork |
| Macrame | Beginner to intermediate | About 2-5 hours for a small design | One or more sessions | Low | Scissors, tape measure, ring or dowel | Wall decor or plant hanger |
| Painting | Any level | 1-3 hours painting | Drying between coats and before use, as directed | Medium | Brushes, palette, surface-appropriate paint | Art or decorated object |
| Mechanical wooden model | Varies by kit; can be advanced | Several hours to 12+ hours; check the model | Often multiple sessions; allow extra waiting if the kit uses adhesive or finishes | Low to medium | Kit instructions; tools and finishing supplies vary | Display, movement, or practical function |
| Floral arrangement | Beginner | About 1-3 hours for a small arrangement | Usually one session with prepared materials; adhesive may need drying | Low to medium | Scissors, adhesive, or kit-specified tools | Bouquet or tabletop decor |
| Crochet or knitting | Beginner to intermediate | Several hours; varies by pattern | Continue over several sessions; larger pieces take longer | Low | Hook or knitting needles, scissors | Dishcloth, scarf, bag, or cushion cover |
| Simple mosaic | Beginner with pre-cut tiles | About 1-3 hours for a small design | Adhesive and grout drying; separate finishing session if needed | Medium | Adhesive, grout as needed, gloves, cleanup supplies | Coaster, tray, or small frame |
If you have a short window tonight, use prepared materials and choose a small finished piece. If you like a repeatable routine, try a textile craft. If seeing a mechanism work is the part that excites you, leave time and table space for a model. Your interest in the process matters as much as the object at the end.
Craft Projects to Do Together
A shared project works best when everyone has a meaningful part to make. Paint coordinated canvases, decorate a set of plant pots, arrange a bouquet together, or contribute separate squares to a larger textile piece. Agree on a simple theme and put the finished pieces together at the end. Individual pieces with shared colors are an easy way to organize a first craft night.
A larger model can also become a shared build when its instructions allow separate subassemblies. One person can sort parts and follow the diagrams while another assembles, then switch roles. Keep dependent steps in order, and choose a session goal that everyone can help complete.
Start Small or Choose a Project You Can Grow Into
Your first craft does not have to be the quickest option. It should fit your current patience, space, and curiosity. Someone who enjoys diagrams and mechanical problem-solving may be happy spending several evenings on assembly. Someone who wants to make color decisions freely may prefer painting a small canvas.
Choose one result you would like to keep, check the tools and time it needs, and set a modest goal for your first session. If a structured build appeals to you, this guide to choosing your first mechanical wooden model kit can help you judge the right starting point. A good project gives you a reason to enjoy the next step as well as the finish.
Frequently Asked Questions
What are some easy craft projects for adults to do at home?
A small air-dry clay dish, a card made with already-pressed flowers, or a painted plant pot offers a manageable start. A beginner candle kit is another option if you are comfortable with measuring materials and handling heated wax. Keep the first design small and follow material instructions.
What crafts can adults do without special tools?
Pressed flower cards and simple paper-flower arrangements need little beyond basic craft supplies. Clay can be shaped by hand without a kiln. Embroidery and crochet need inexpensive dedicated tools, while candle making and some model kits require a more specific setup.
What is a good weekend craft project for adults?
A small macrame piece, a coordinated set of painted pots, or a mechanical wooden model can suit a weekend. Match the scale to your experience. A detailed model may continue into later sessions, and clay or candles may still need drying or curing after the hands-on work ends.
What crafts can I make for home decor?
Try pressed flower art, an embroidered picture, a macrame wall hanging, a floral arrangement, or a decorative clay dish. A working model clock offers another direction if you enjoy assembly and want the finished object to have a practical role.
What is a good craft for someone who does not consider themselves creative?
Choose a project with a clear pattern or instructions: a small embroidery kit, a simple macrame design, or a model kit matched to your experience. You can focus on making and learning the process without having to invent the design from scratch.