
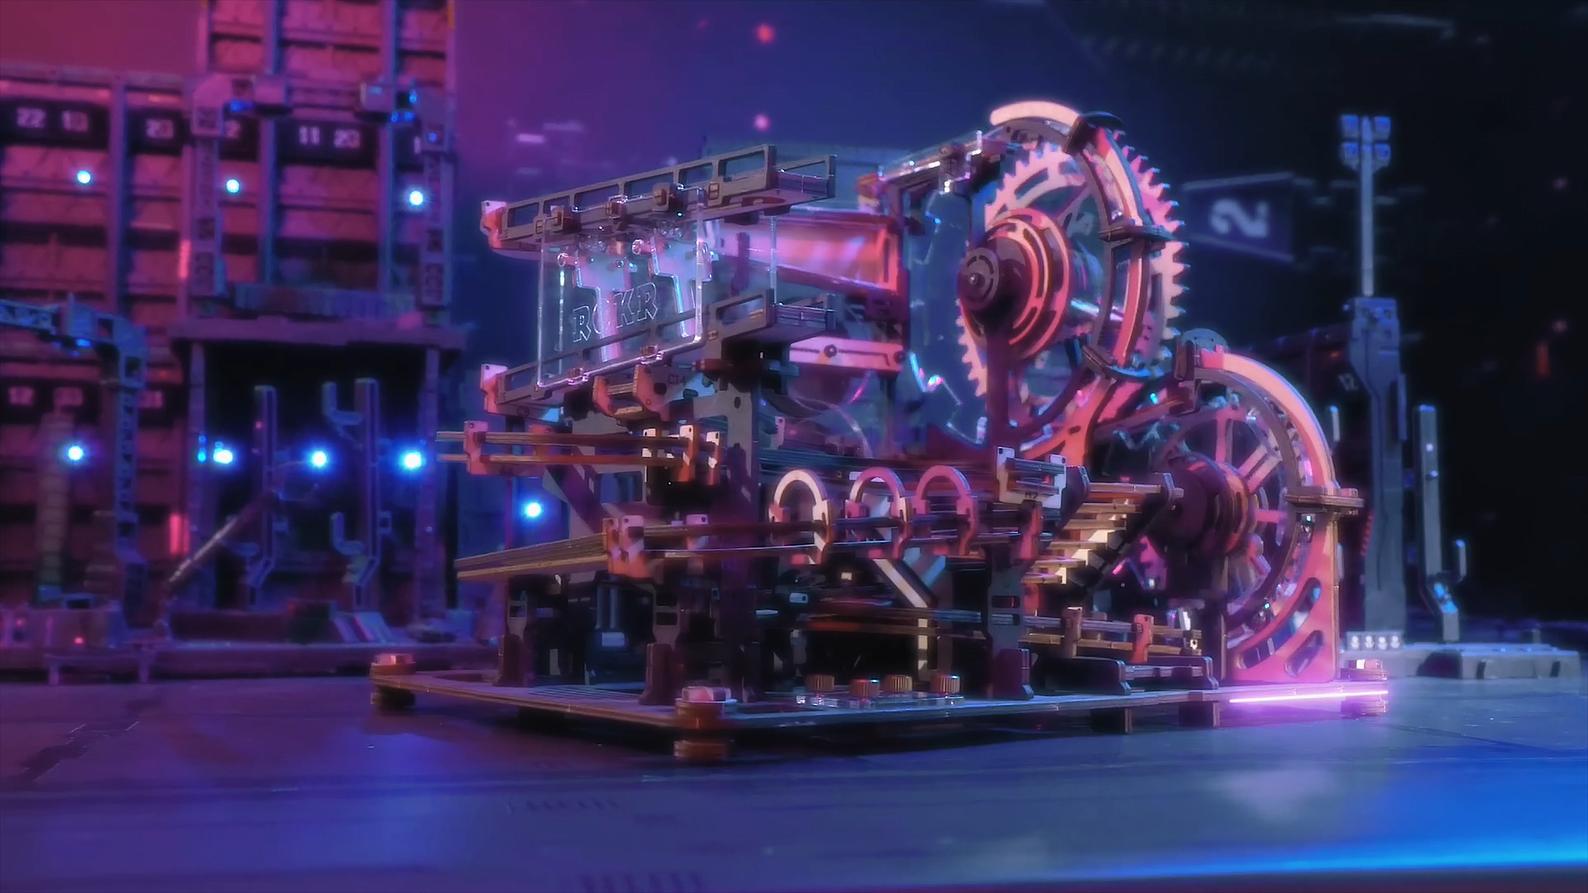
You may have been browsing the ROKR catalog and came across these cool, kinetic toys with names like Night City, Spaceport, and Parallel World. These are our take on the globally famous marble runs: physics-based contraptions where steel balls travel through ramps, spirals, lifts, and gear-driven tracks using gravity, and in ROKR’s case, ROKR’s signature clever engineering.
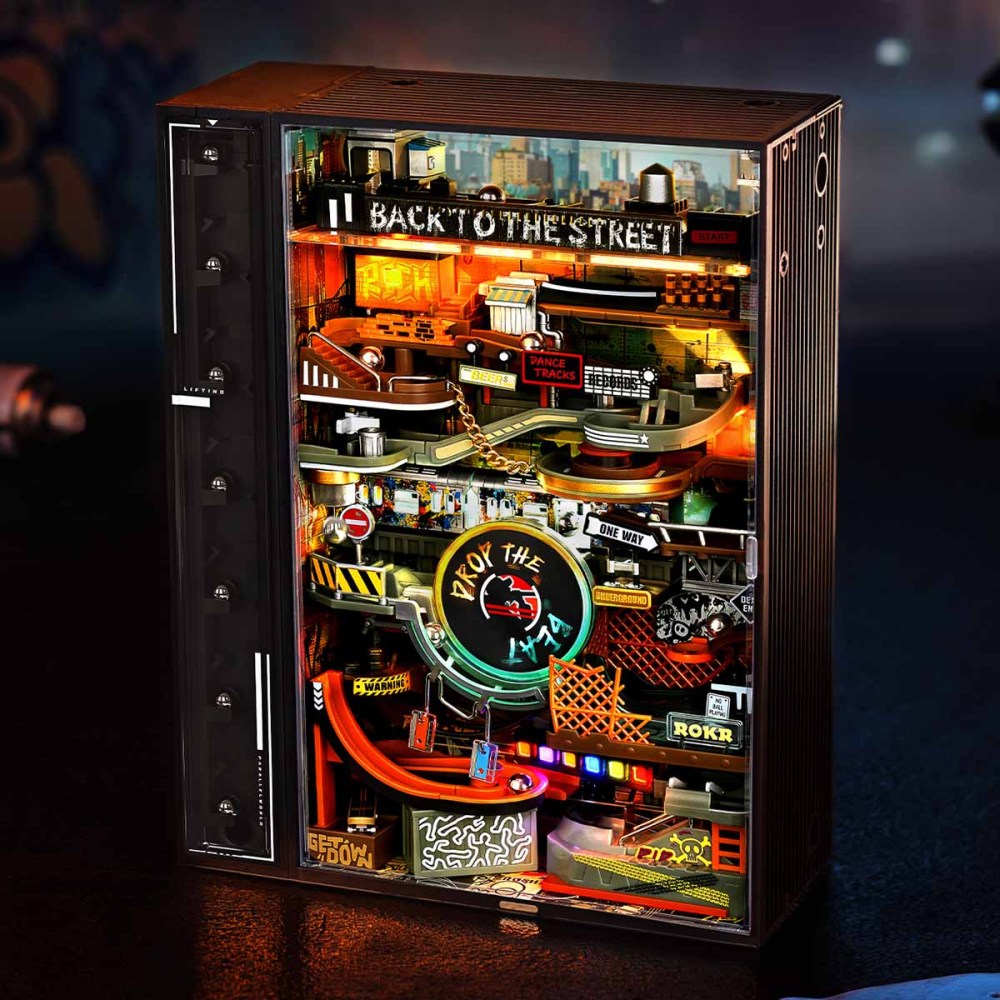
The challenge of building, fun in playing, and educational value have made these classic childhood toys viral internet content, with some even treating them like a sport. ROKR’s diverse range of marble run styles spans from natural wood mechanical models, like the manually hand-cranked Marble Parkour Big Funnel, to futuristic cyberpunk-inspired designs, such as the Hip-Hop Street, which features music, lighting effects, and automatic lifts.
These DIY models are totally artistic, hypnotic, and visually striking. They also offer a soothing, kinetic way to relieve stress while bringing back your sense of childhood wonder, reverie, and excitement.
The First Step: Beginner Level
If you’re new to building marble runs, start with smaller, easier models that show you how the pieces fit together and how gravity drives the entire system. At this stage, focus on understanding how lifts return marbles to the top, how gears transfer energy, and how proper track alignment keeps the motion smooth and consistent.
The Hip-Hop Street MR03S is a great starter model, with only 134 pieces and a 3-star difficulty rating, requiring around 1.5 to 2 hours of build time. While it has a bold, futuristic aesthetic with lights and sound, it introduces beginners to motorized lifts and track mechanics in a manageable way.
ROKR also has manual models with a hand crank, such as the Marble Parkour Big Funnel model. Made of natural wood, it showcases the marble’s continuous descent and offers mechanical satisfaction without being overly complex. It does require patience and a careful hand to align parts.
Test sections before sealing panels, and make sure gears spin freely before moving ahead, so you won’t have to dismantle sections if you made a mistake. On wooden models, apply wax only to the contact points identified in the model’s manual to help the crank and gears move smoothly.
Nail these fundamentals now, and advanced builds will feel like a challenge, not a struggle.
Bigger Builds: Intermediate-Level Marble Runs
Once you’ve done one or two basic kits, you’re ready to step up to larger, more intricate builds.
Mid-tier models like the wooden Marble Night City will challenge and teach you to balance tight margins in gear alignments, ensure marbles don’t jam at tricky intersections, and maintain consistent crank force. This model has 294 pieces, a 4-star difficulty, and an assembly time of about 7 hours. The wooden gears sit close together, forming a layered gear train with axles that pass through multiple panels. If one panel isn’t fully pressed into place or an axle is slightly angled, you’ll feel resistance when turning the crank. That resistance usually means a gear isn’t meshing cleanly. When aligned correctly, the crank rotates smoothly, and the lift climbs steadily without clicking or skipping.
Night City also has areas where a marble exits a lift, drops into a curved chute, then immediately enters a guided rail path. If the rails aren’t evenly spaced or the clear acrylic panels aren’t seated properly, the marble can jam and lose speed. Testing each section before closing the outer walls prevents this.
If you prefer models from ROKR’s MR series (the ones with lights and sound, yes), the Alchemy City offers the step up you might be looking for with its 247 pieces and estimated 2-hour assembly time. It has a 3-star intermediate difficulty rating and features an automatic staircase lift that creates nearly endless loops, plus over 120 sound-reactive LED lighting patterns that respond to ambient sound and marble motion.
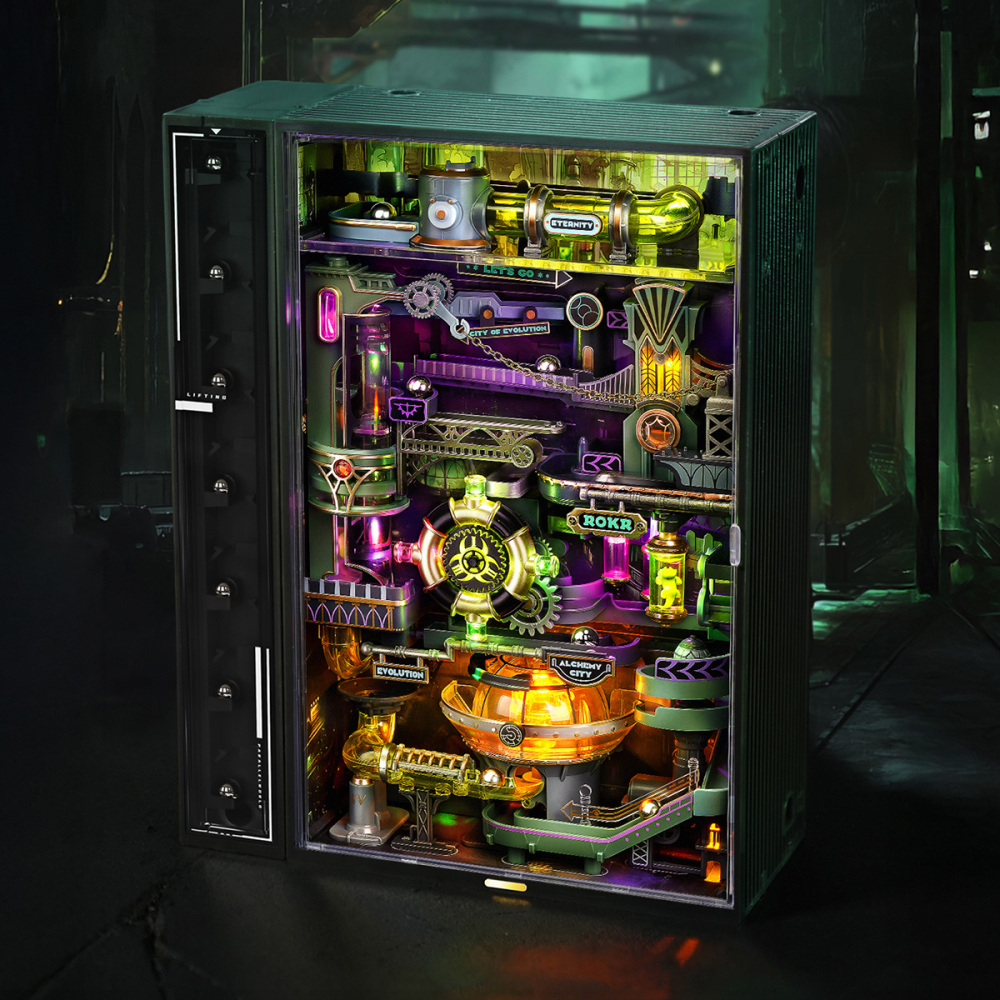
To keep everything running smoothly, ensure the lift mechanism moves freely and track connections are aligned so marbles don’t snag. Without these, you won’t get the synchronized motion and lighting feedback the model promises.
A Mars-Themed Route: Mars Outpost MR05S
For builders drawn to space exploration, Mars Outpost MR05S turns the same track-alignment lessons into a miniature Mars-base scene. A motorized lift returns the marbles to the track, while sound-activated lighting adds another layer to the finished display. Like Alchemy City, it has a 3/5 difficulty rating, giving builders another setting to explore within the motorized MR range.
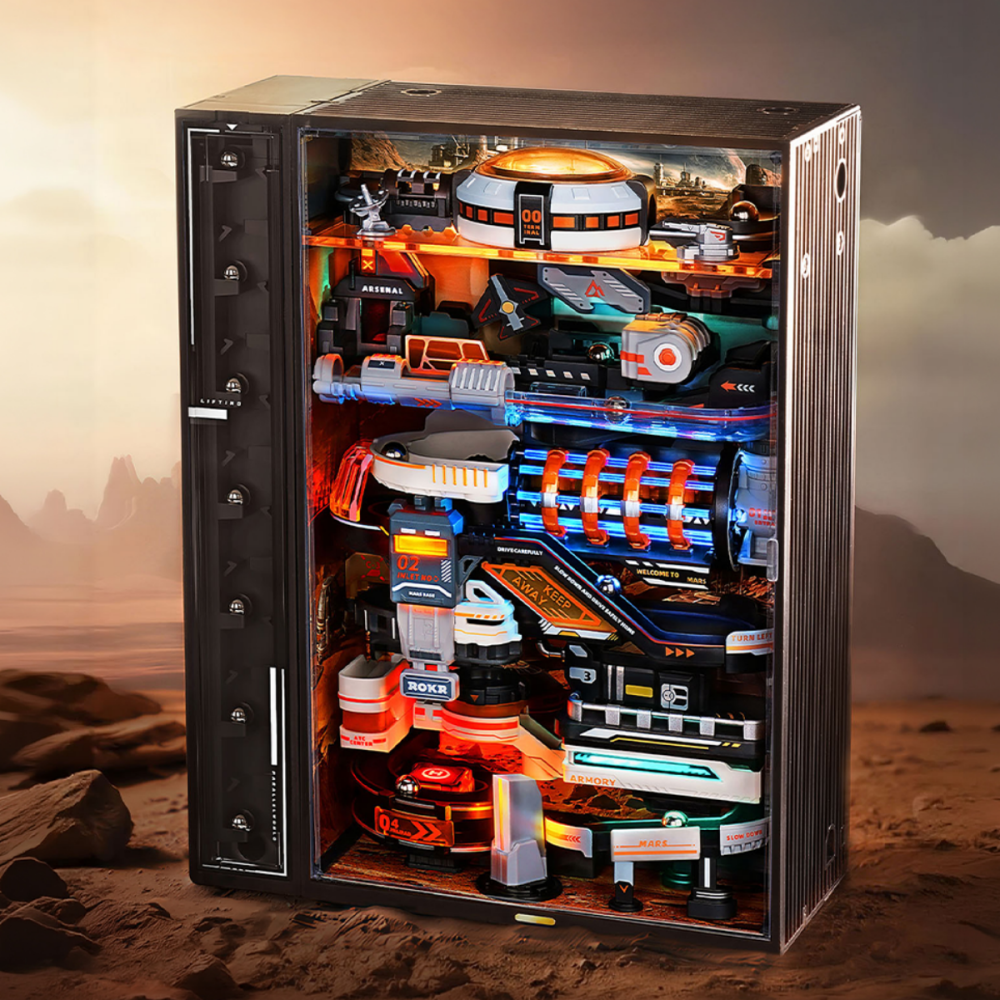
Match the preparation to the material. Mars Outpost is made from ABS plastic, not wood. Follow its own manual; do not assume the sanding and waxing advice for wooden models below applies to its plastic parts.
Advanced Territory With Motors and Connected Systems
Complexity might seem intimidating, but once you understand the mechanics, advanced builds become irresistible.
We recommend our bestseller, the Marble Spaceport, because it offers the option of using a motor or a hand crank to activate the toy. With 472 pieces, over 5 hours of build time, and a 4-star difficulty rating, this DIY puzzle teaches patience, precision, and the right amount of force to use with the wooden pieces to avoid binding or breaking them.
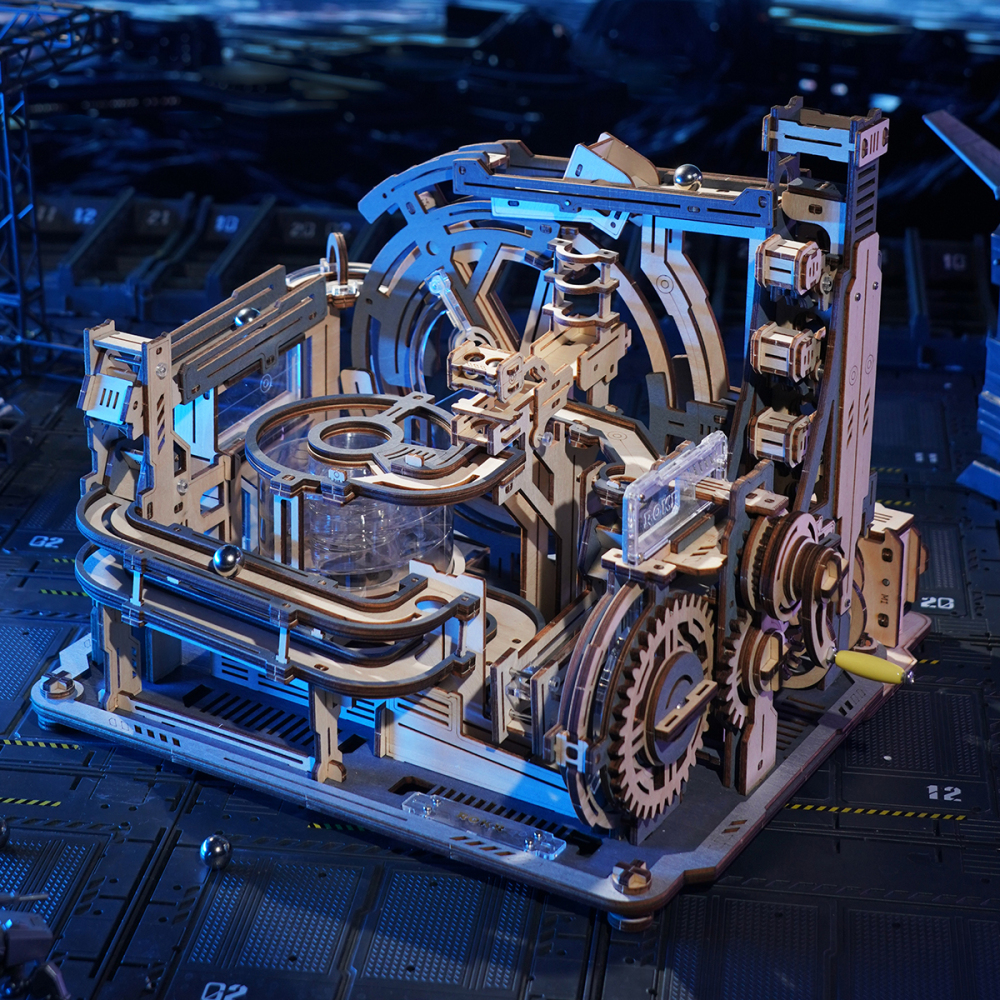
Follow the Spaceport manual for waxing and sanding, preparing only the areas directed so the parts can run smoothly. It will also help to drop a marble early when a section is done (or almost done) to confirm alignment.
To up the ante, connect this kit with the Night City LGA01 using the link pack. You’ll create a unified mega-run with tracks and lighting effects, while managing power delivery, motor synchronization, and advanced calibration so the marbles don’t stall or collide awkwardly.
Choose connectors for the models you own. The link pack above connects Night City and Spaceport. Check Mars Outpost’s own connection instructions and compatible modules before choosing accessories for a Parallel World layout.
Helpful Tips for Any Level
Here’s what you need to remember, regardless of your skill level in building ROKR marble runs. Preparation depends on the material: the wooden-panel and waxing tips below are for wooden models, while ABS kits such as Mars Outpost should be handled according to their own instructions.
The Assembly Guide
ROKR supplies a detailed instruction manual with each marble run kit. It would make a huge difference if you read each full step before snapping pieces out of the panel. Understanding how a section works, especially lifts and crossovers, prevents installing a piece backwards and discovering it 20 steps later.
Punching Out Wooden Parts
Never twist parts out of panels because that’s how tabs splinter, and edges crack. Instead, press pieces from near attachment points, supporting the surrounding wood. Stubborn parts that won’t come off easily can be dealt with easily by using a hobby knife. Just lightly score the connection points, then push it free.
Organize pieces using bowls, trays, or tackle boxes to prevent misplacement and loss.
May the (Right Amount of) Force Be With You
If you’re a beginner, you’ll learn the right amount of force to use quickly without breaking or bending the pieces. This is an essential experiential skill as you progress to the more difficult kits.
If any part resists, stop. Large panels may flex, so always assemble on a flat surface and avoid lifting structures until support frames have been added.
Small, Missing, or Broken Parts
If you’re pausing overnight, you can also use small zip bags to store smaller parts such as tiny gear wheels or pins, or you can cover your box lightly to protect it from dust, pets, or accidental bumps.
If you accidentally break or lose a piece, check the model’s manual before attempting a repair. For replacement-part or repair advice, reach out, describe the part, and include a picture if possible so ROKR can advise on the options for your model.
Moving Parts
For wooden marble runs, use the wax recommended in your model’s instructions, and apply it only where directed. If wax is not supplied, check the manual or contact ROKR for a suitable option. Apply lightly where the parts rub and test them a few times to spread the substance. Don’t put too much or your section might become a slick disaster and slow the marbles down considerably.
Aligning Gears
Press joints firmly and check that tabs sit flush. We don’t want any gaps that can cause gear skips caused by loose axles. To check, these axles should sit straight. You can confirm this when it spins freely before attaching gears.
Test, Test, and Test
You don’t have to wait until the whole thing’s done to drop a marble. You can run a ball or two through a section or connection to make sure everything aligns. Then proceed to building the next section.
Enjoy the Challenge
Like a shiny sphere traveling through an exciting journey, your building experience may include mistakes, realignments, small adjustments, and triumphs. That’s all part of the process. Each success is intensely satisfying, so take your time, savor the mechanical problem-solving, and celebrate your creativity and skill.
The magic isn’t just in the marbles rolling, but in every twist, click, and clever adjustment that creates small wins and memorable moments. Explore our full marble run collection to discover more designs and difficulty levels.